Confession no 2: I still believe in fairies
So I know that (probably) fairies aren’t real but I’d prefer to think that the world is pretty weird in a good way and magic is just beyond our finger tips. With this in mind, I am going to explain how to make a light box out of a shoe box that adds a little light and magic in these dark times.
We made these at a fantastic workshop at the Green Show, Seaford with @mod.makers.
They are easy to make with kids (a 10 year old could make alone apart from a bit of help with cutting inside shapes) and also really good to make as an adult; I made quite a minimal style one below which I’ll use in my sitting room.
Visual step by step below but here’s the written bit:
Equipment you will need:
- Shoe box
- 3 x pieces of thin white paper (cheap copy paper is fine) cut to the size of the shoe box
- 2 x pieces of card cut to same height as shoe box and roughly double the depth of the box
- Plain white/ grey/ black paper (off cuts are fine)
- Ruler
- Glue stick
- Pencil
- Scissors and sharp craft knife

1. Drawing equipment 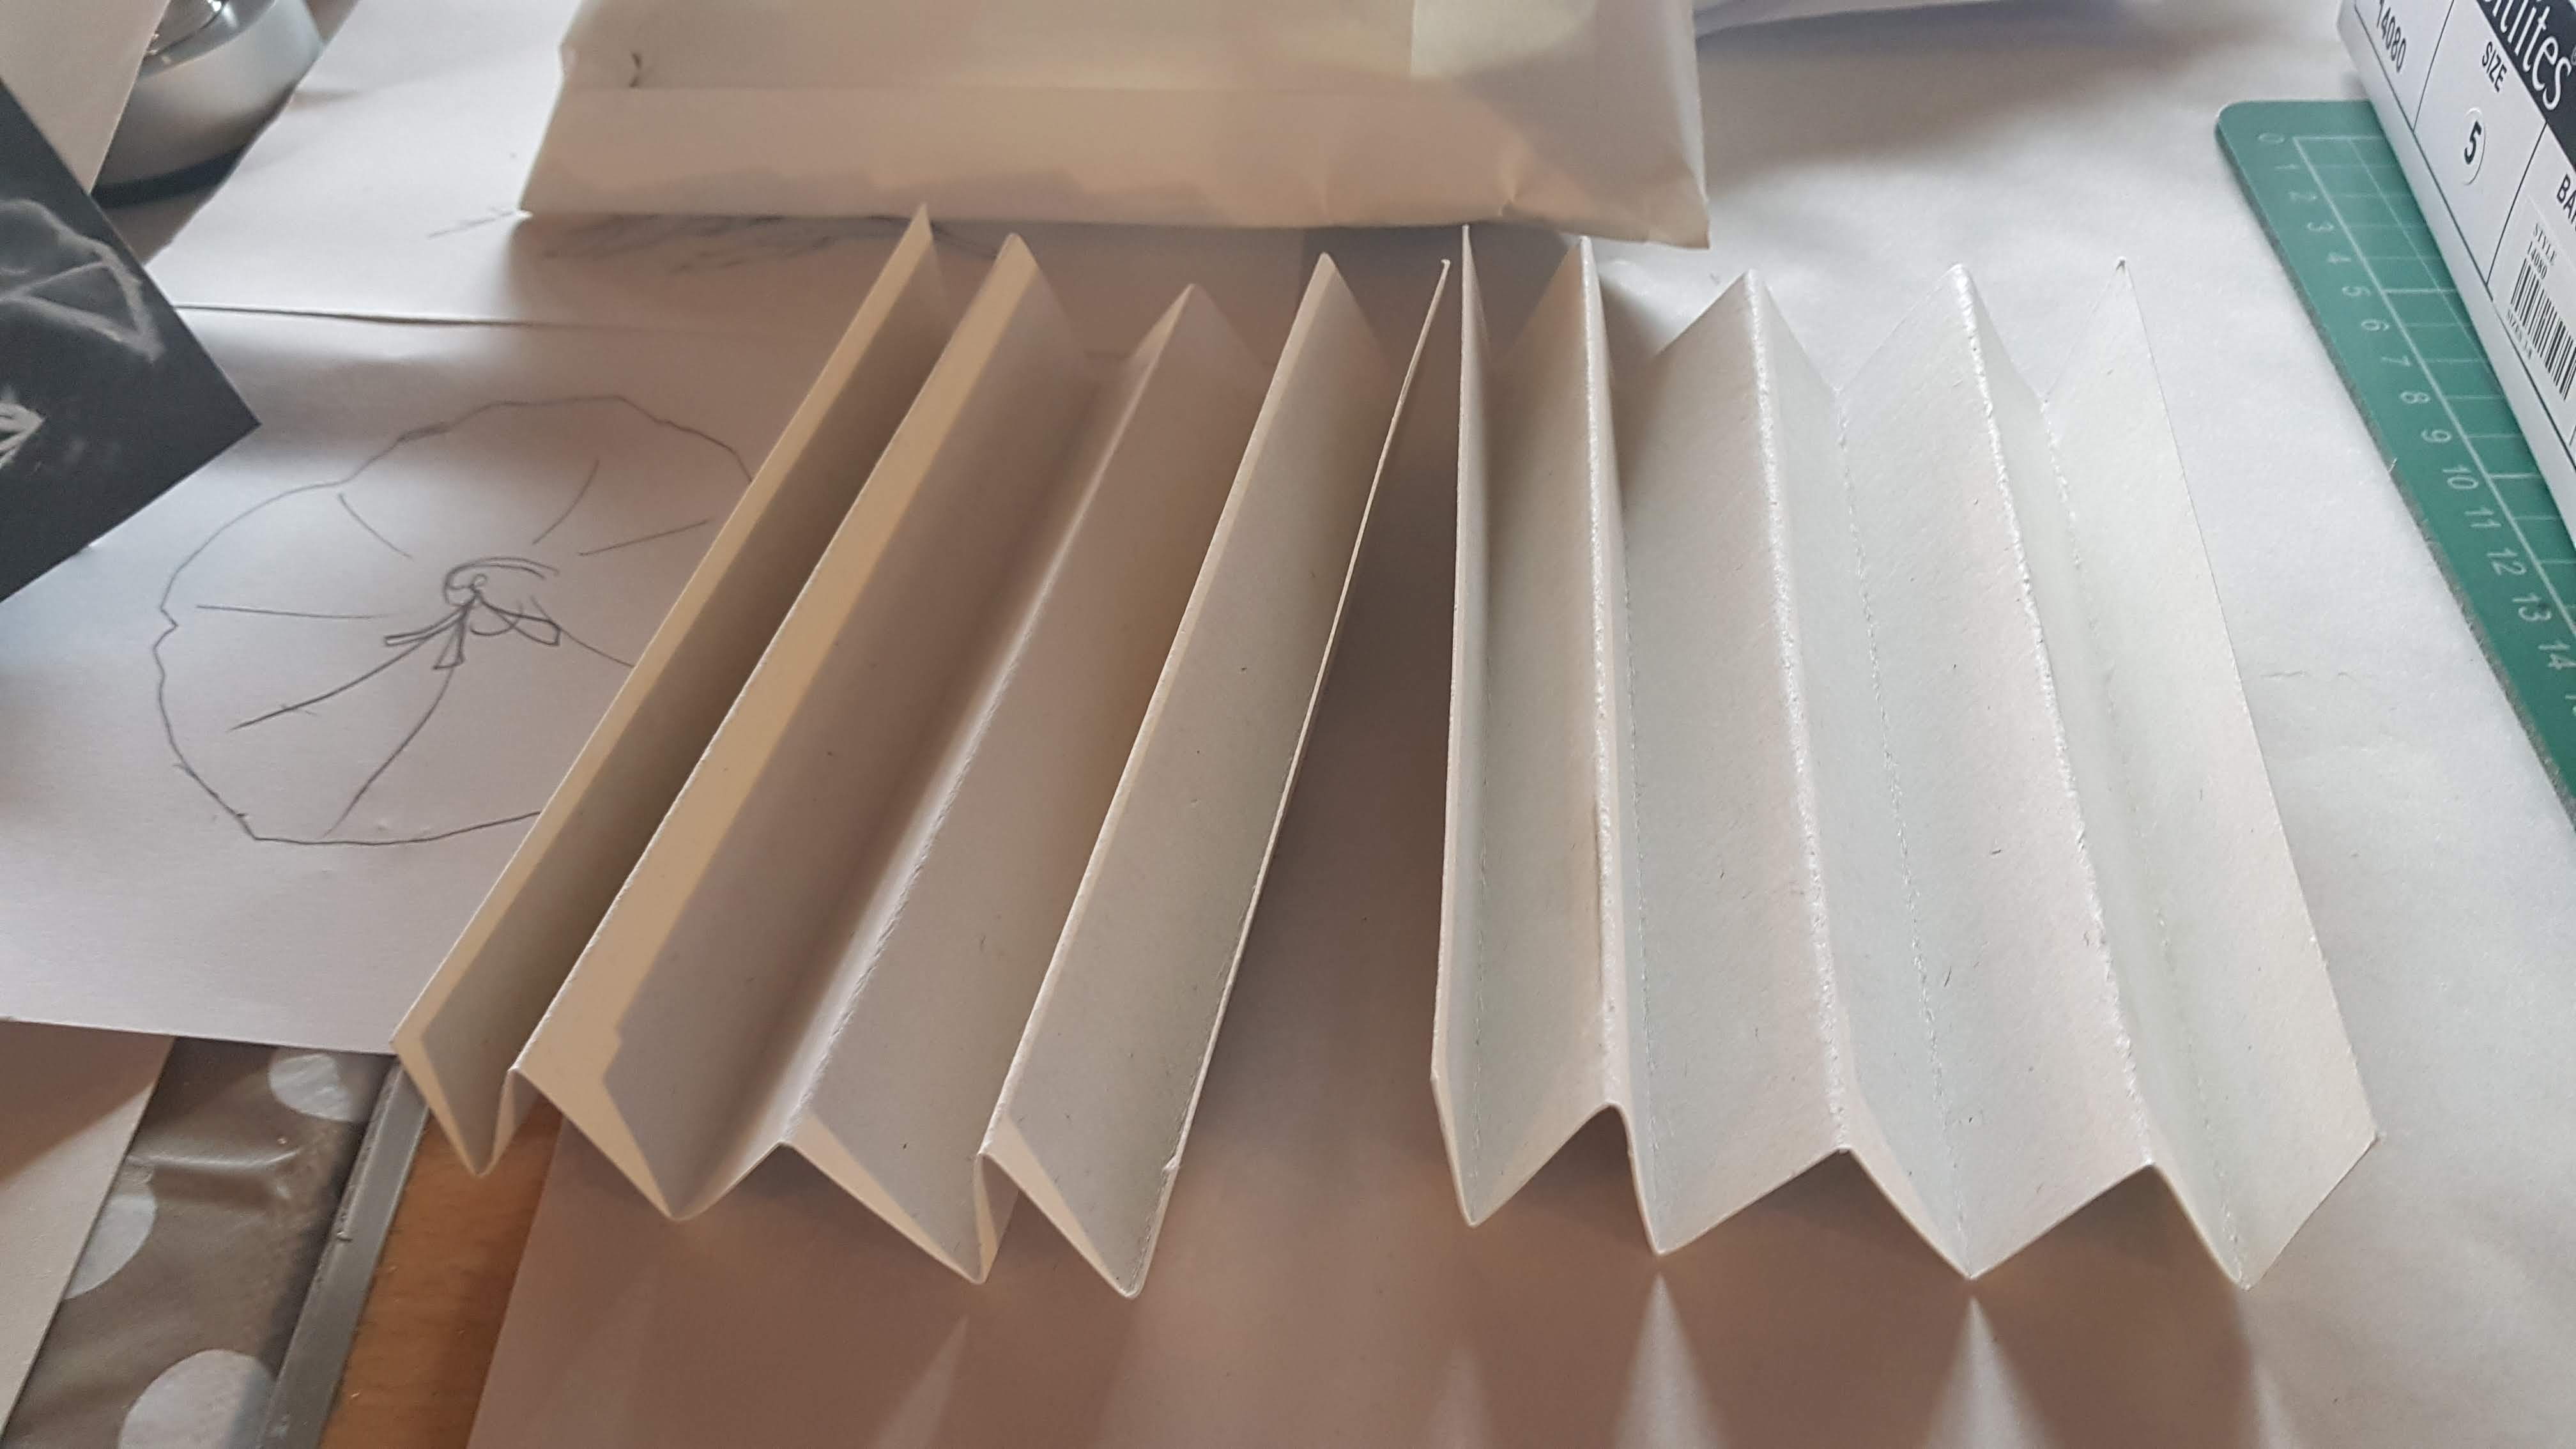
2. Fold into concertina folds 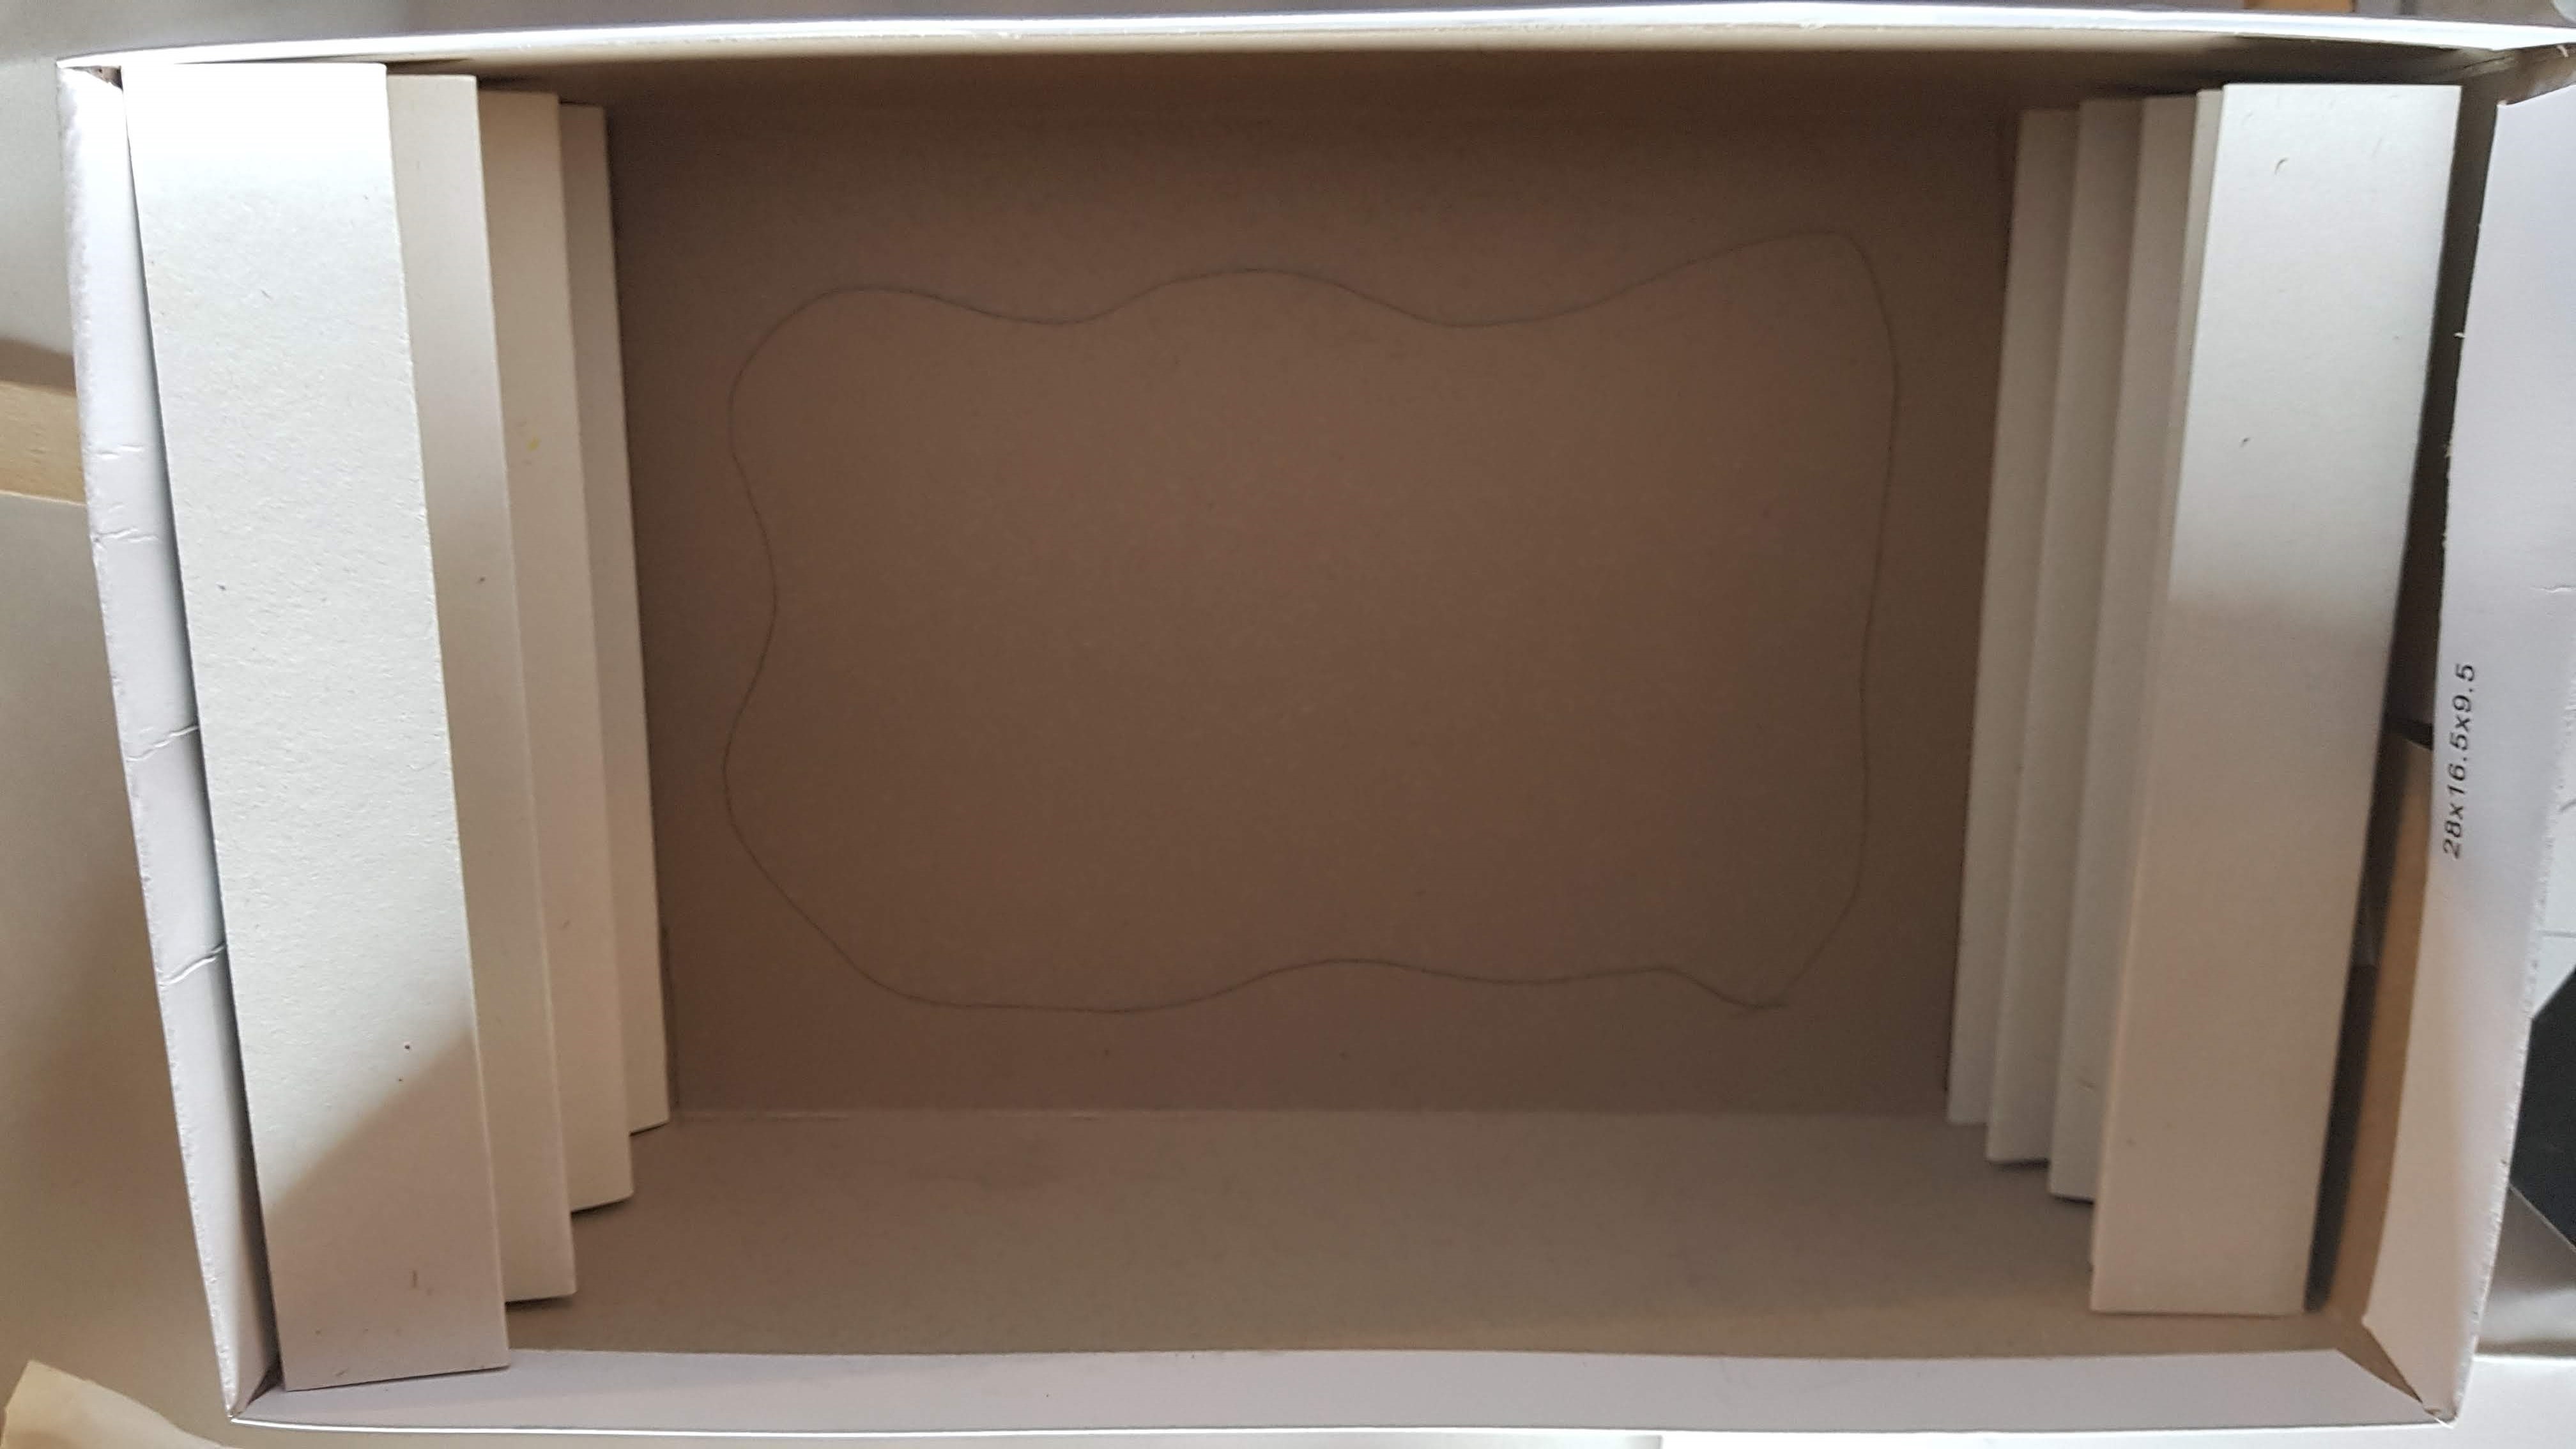
3. Mark your first window 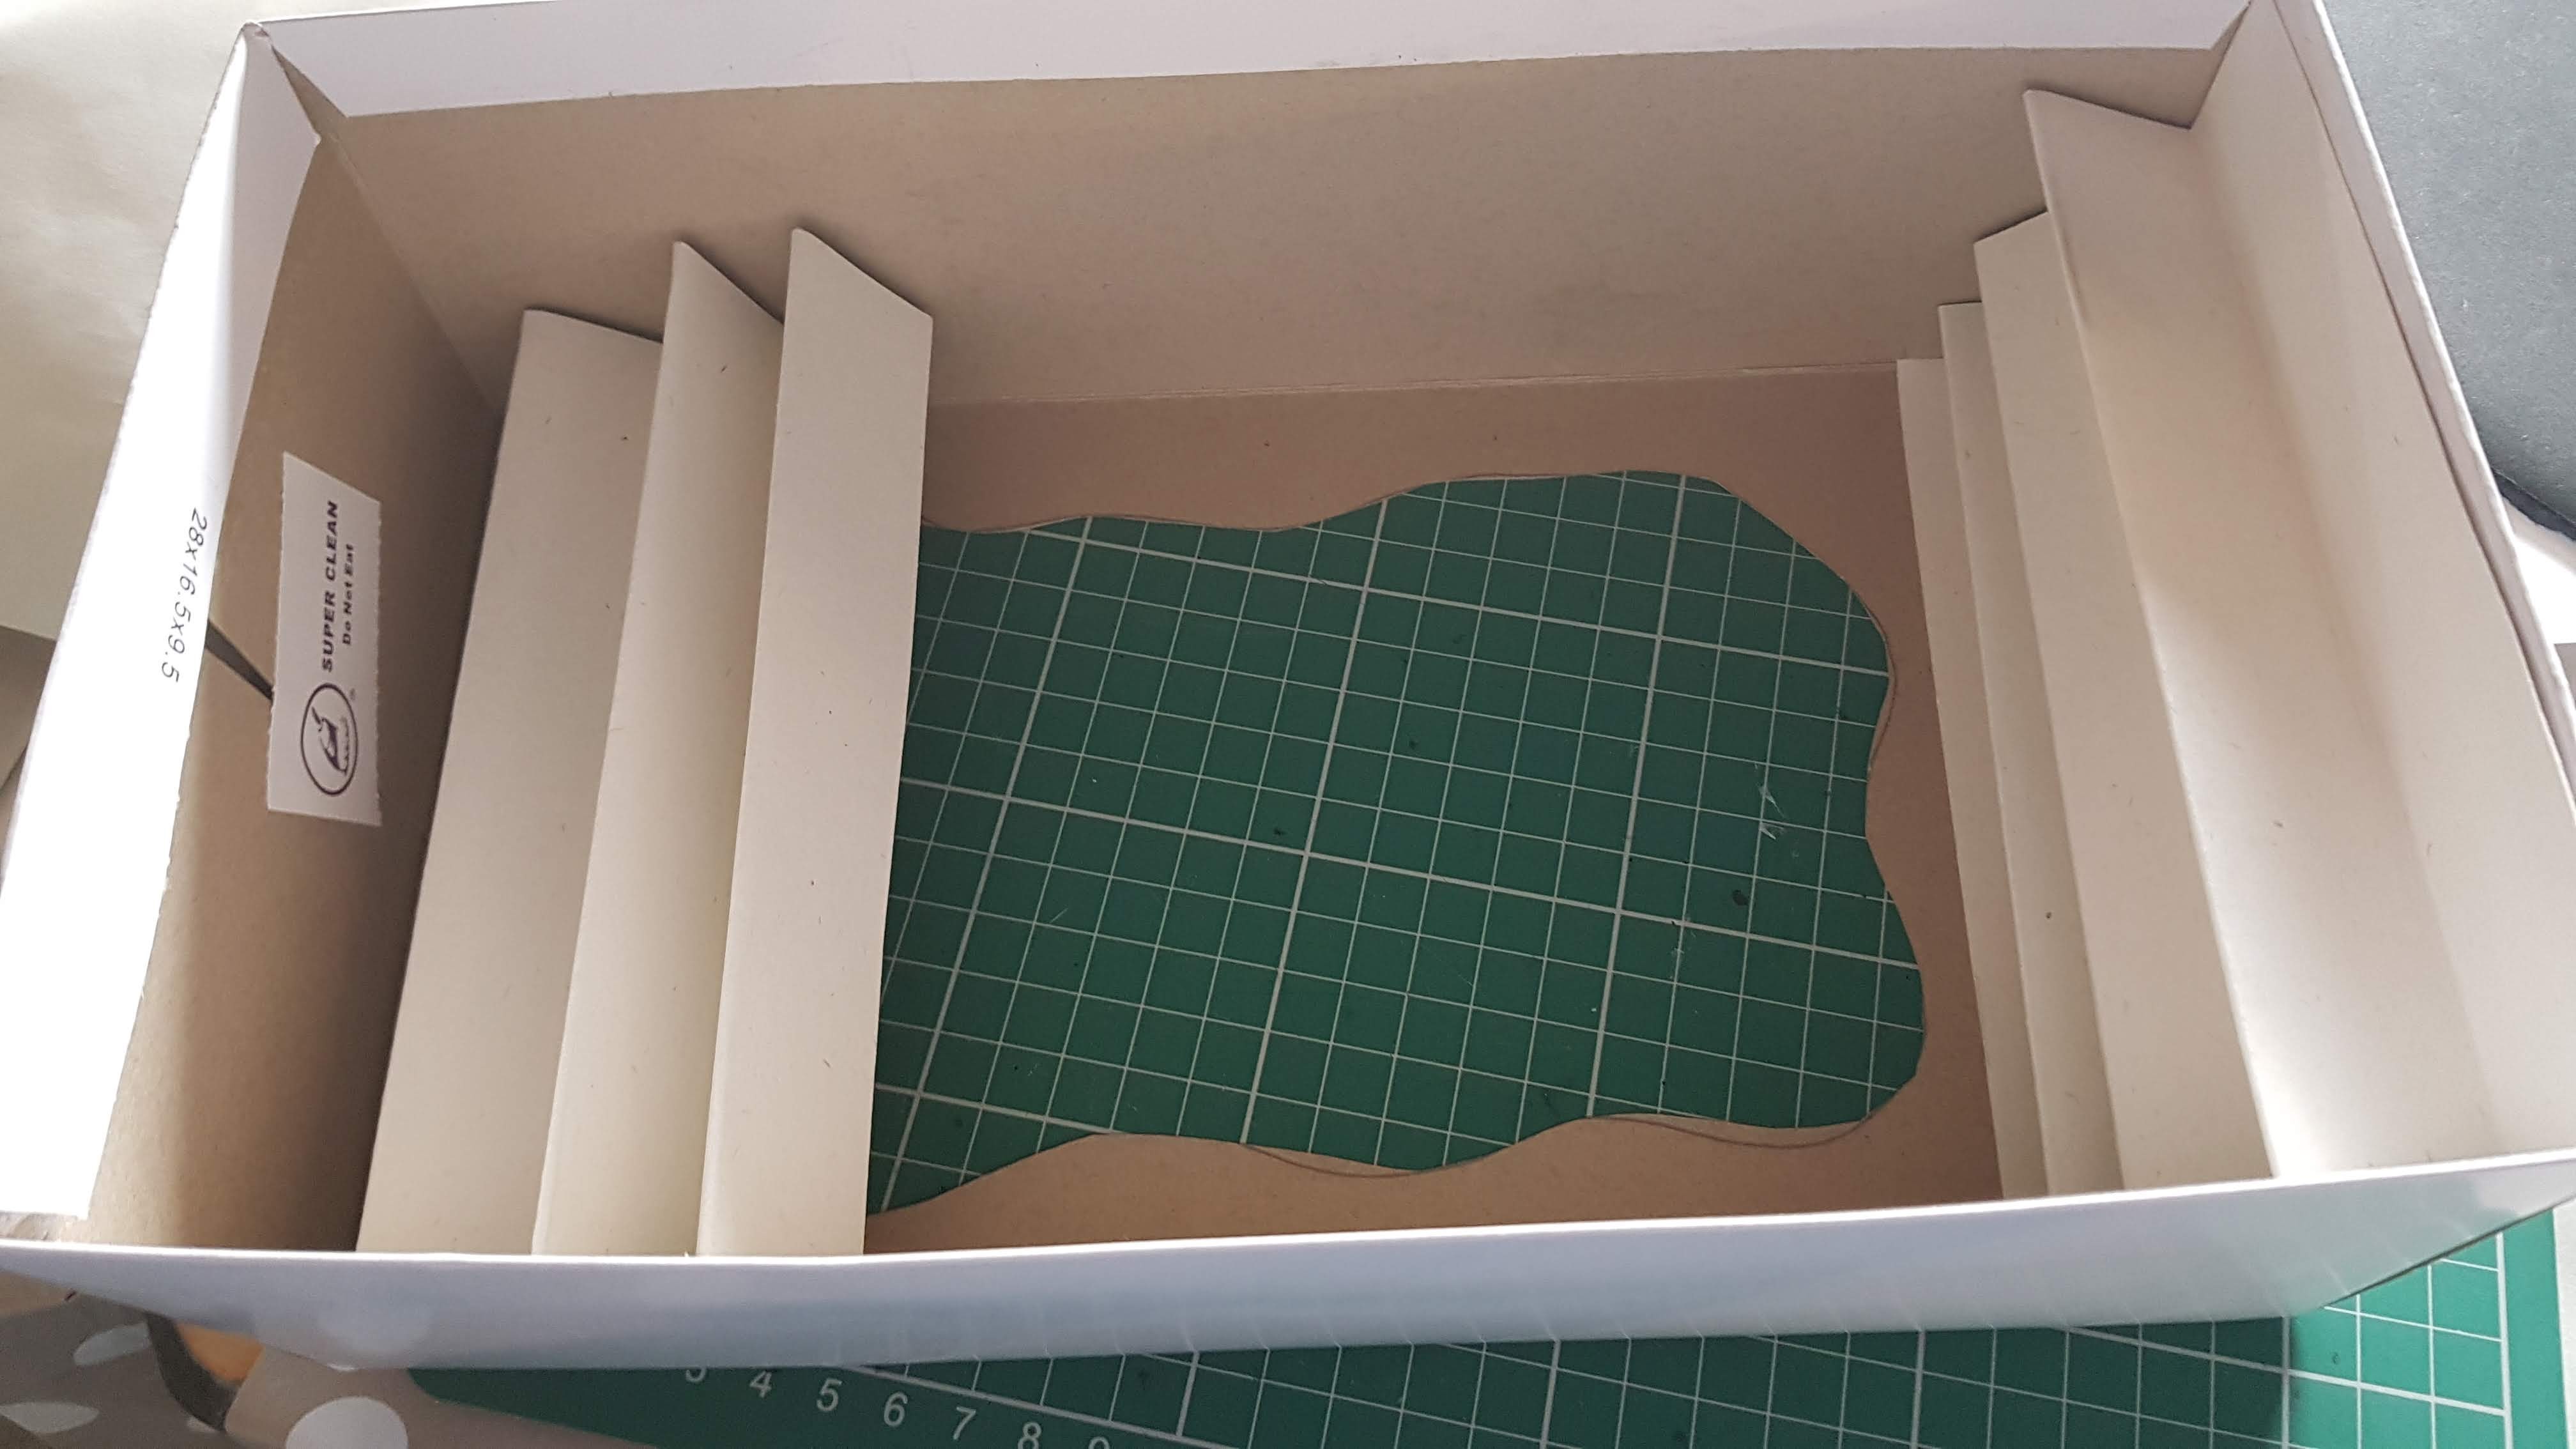
4. Glue in at each side 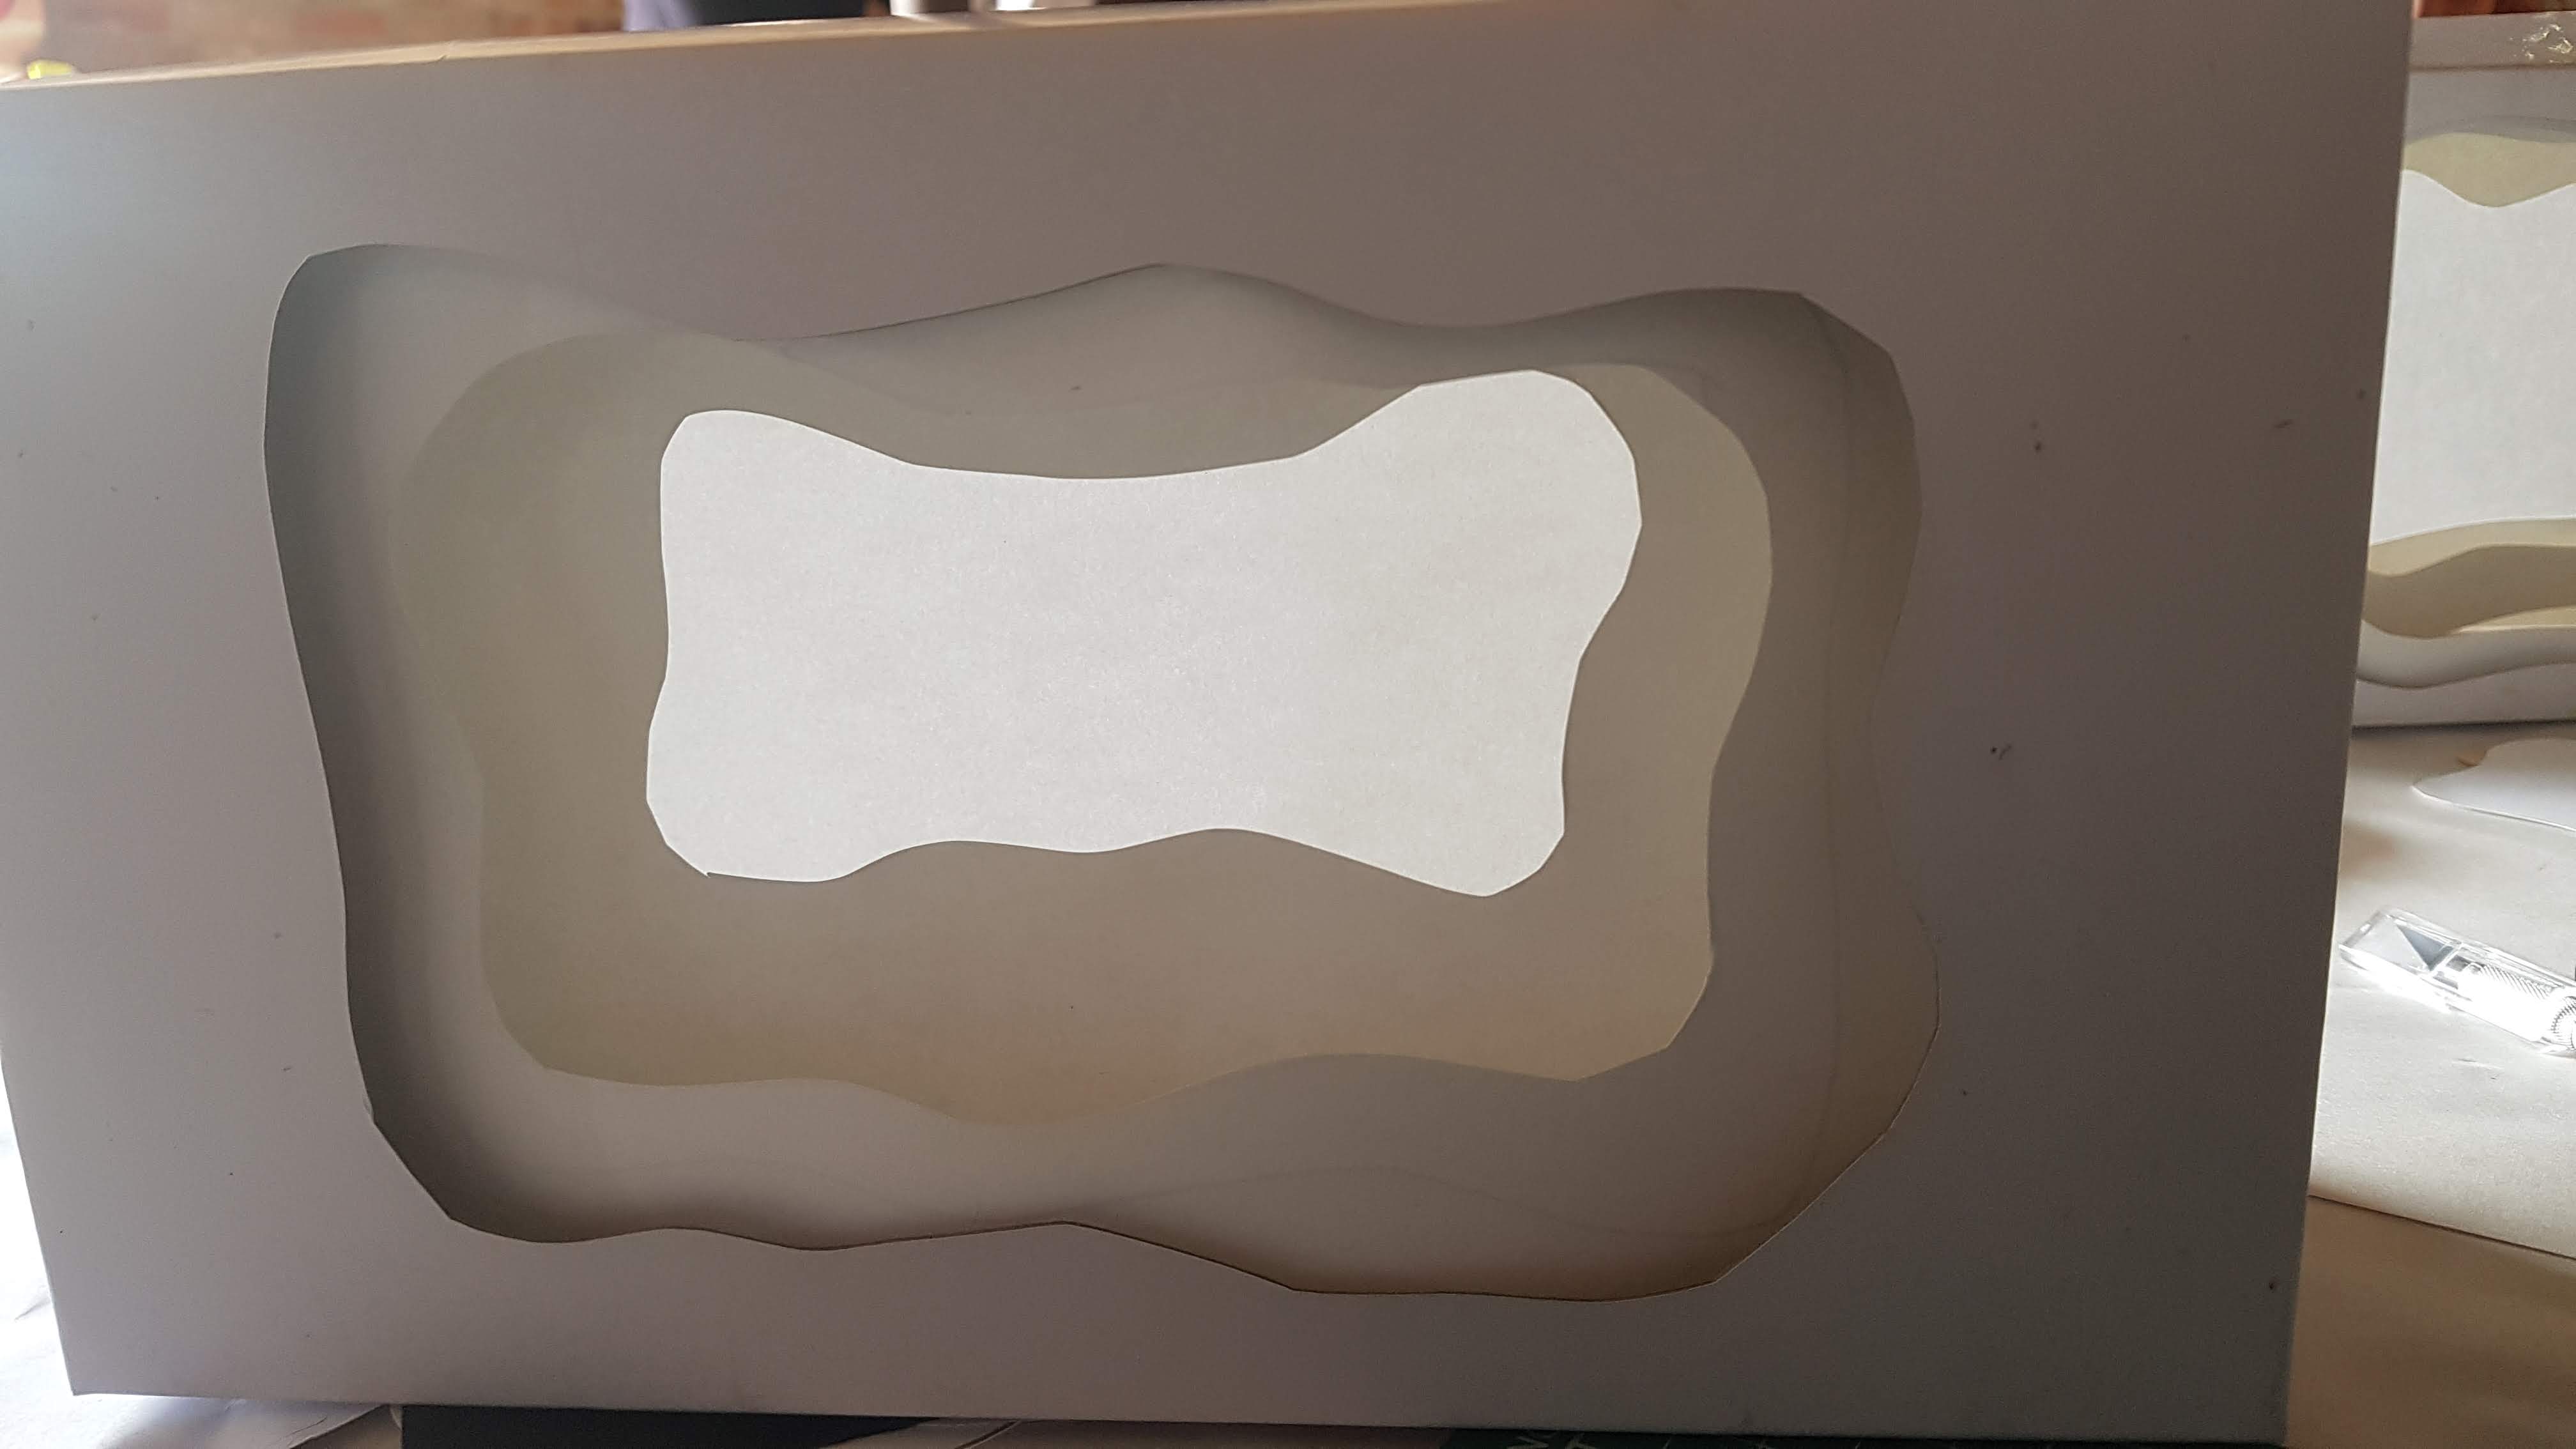
5. Complete layers cut and glued in 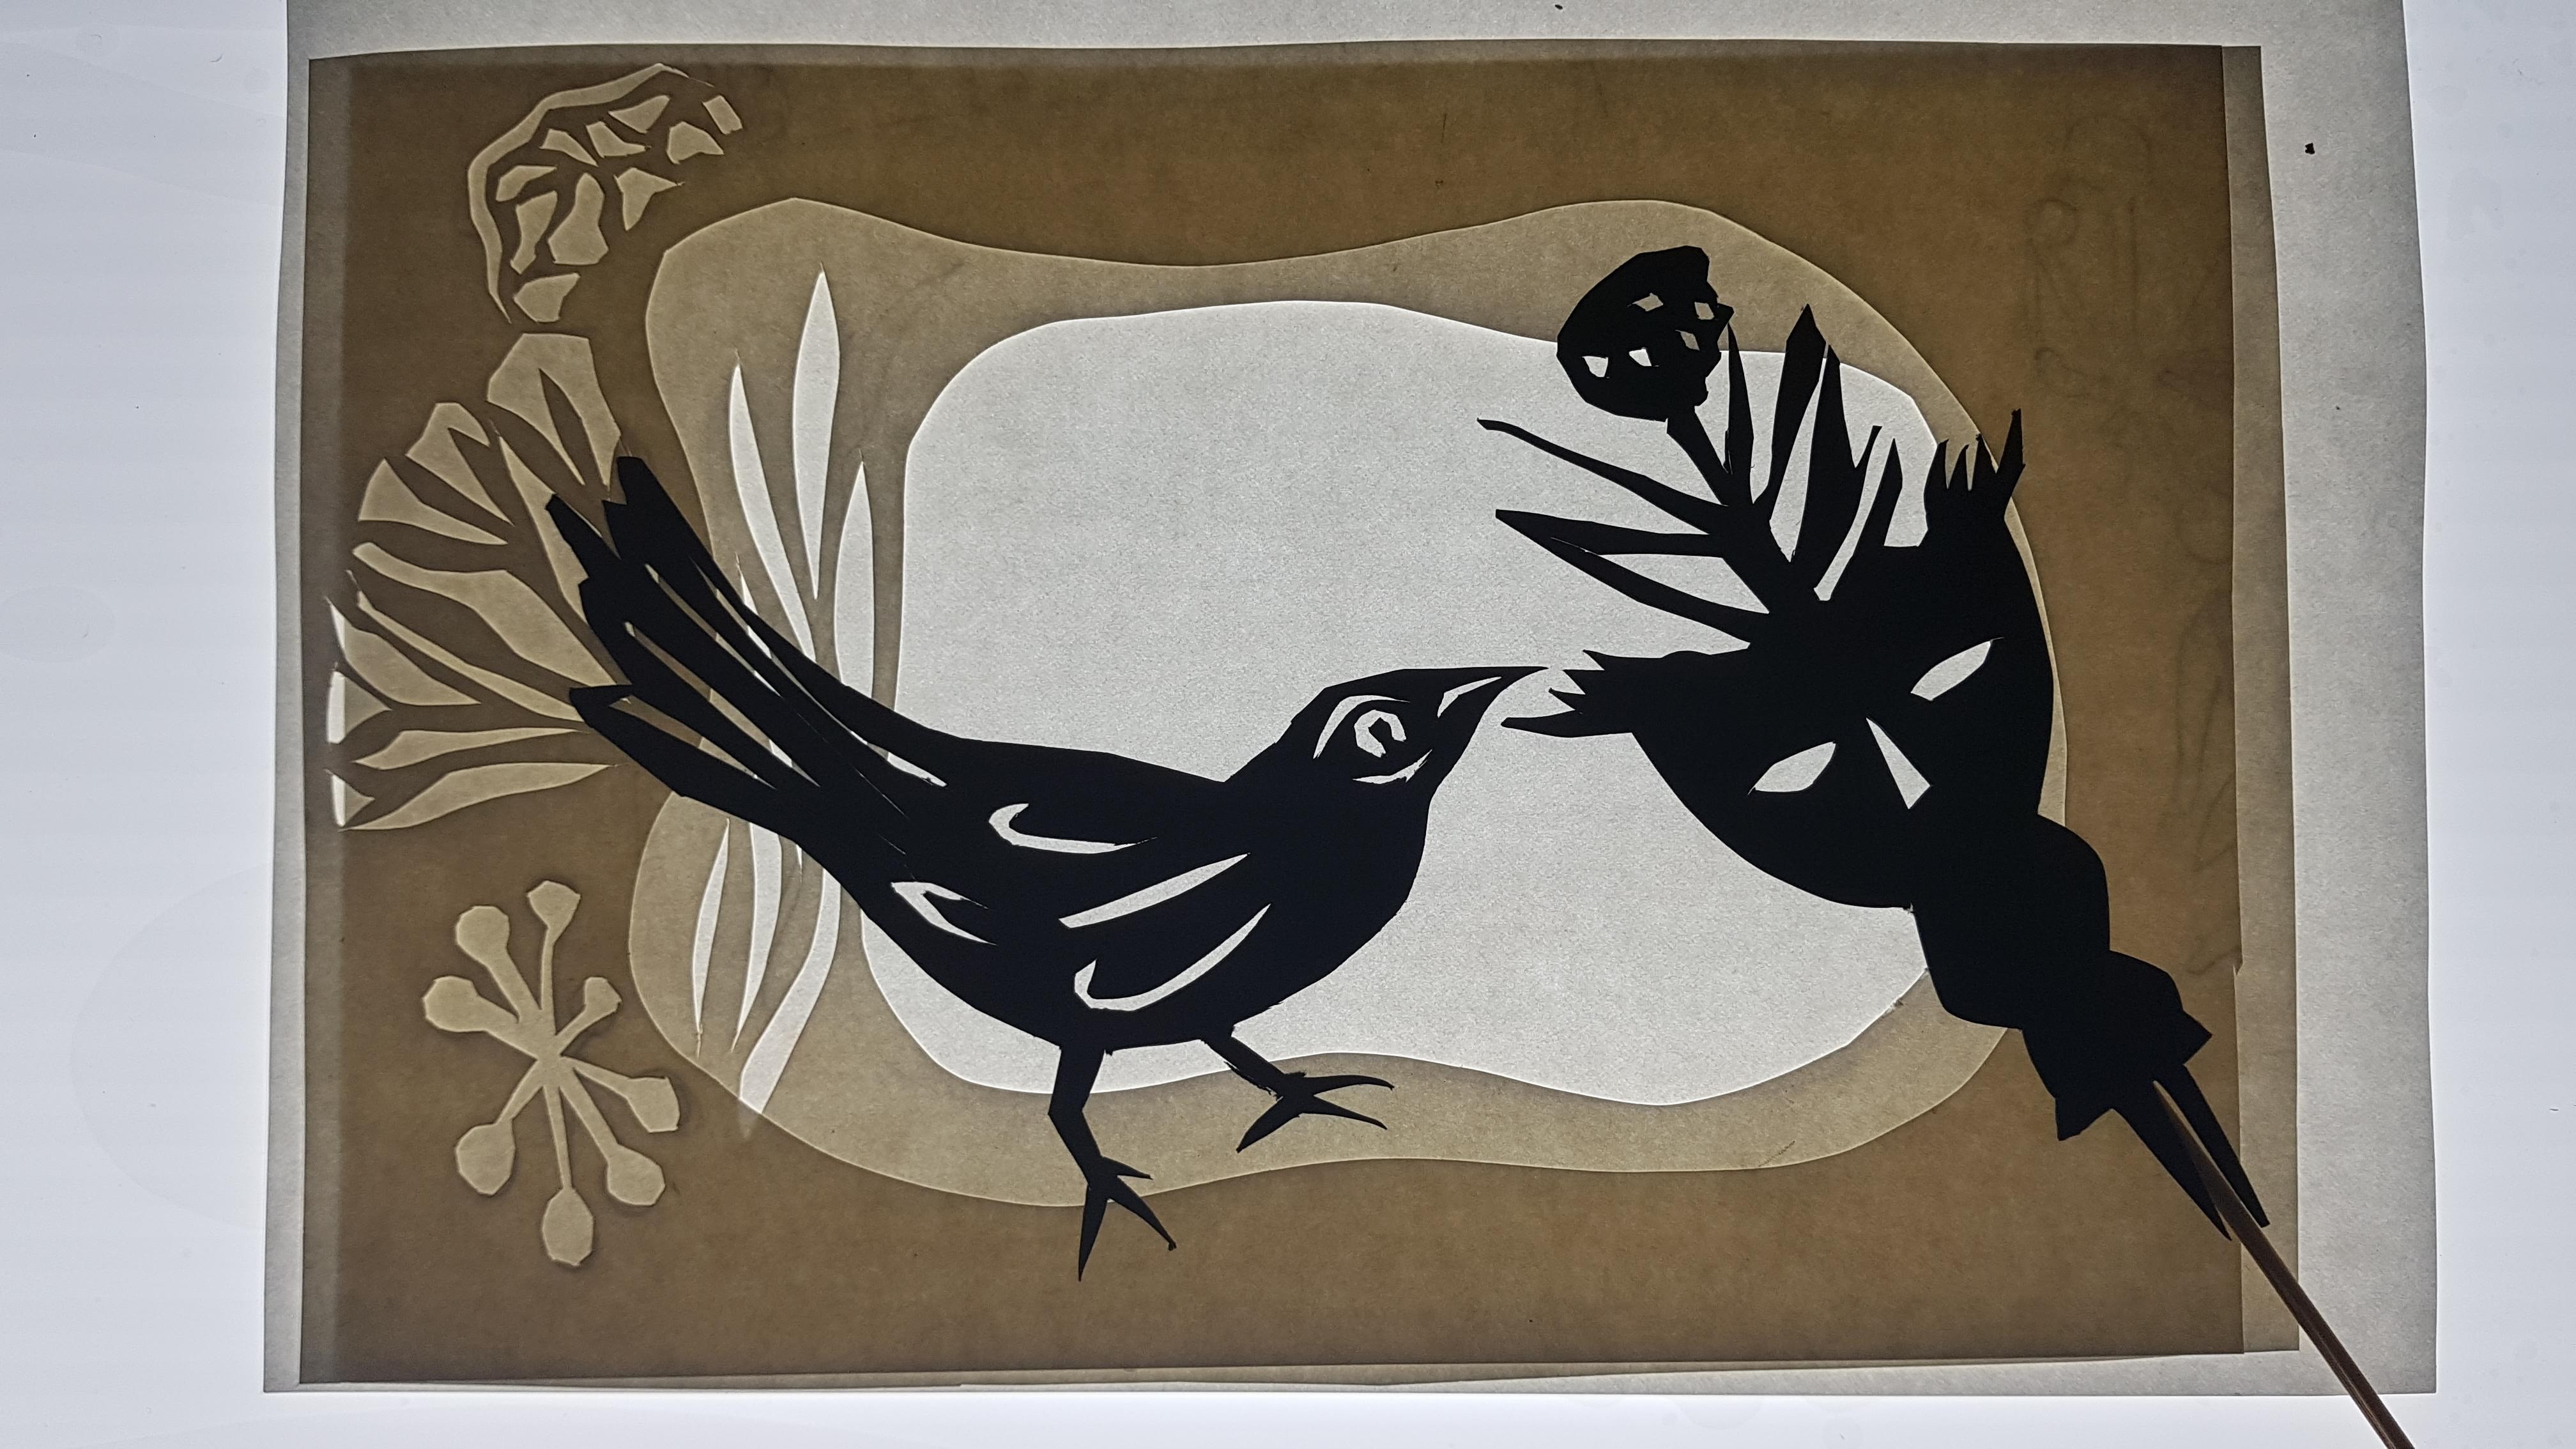
6. Ideas for cut outs 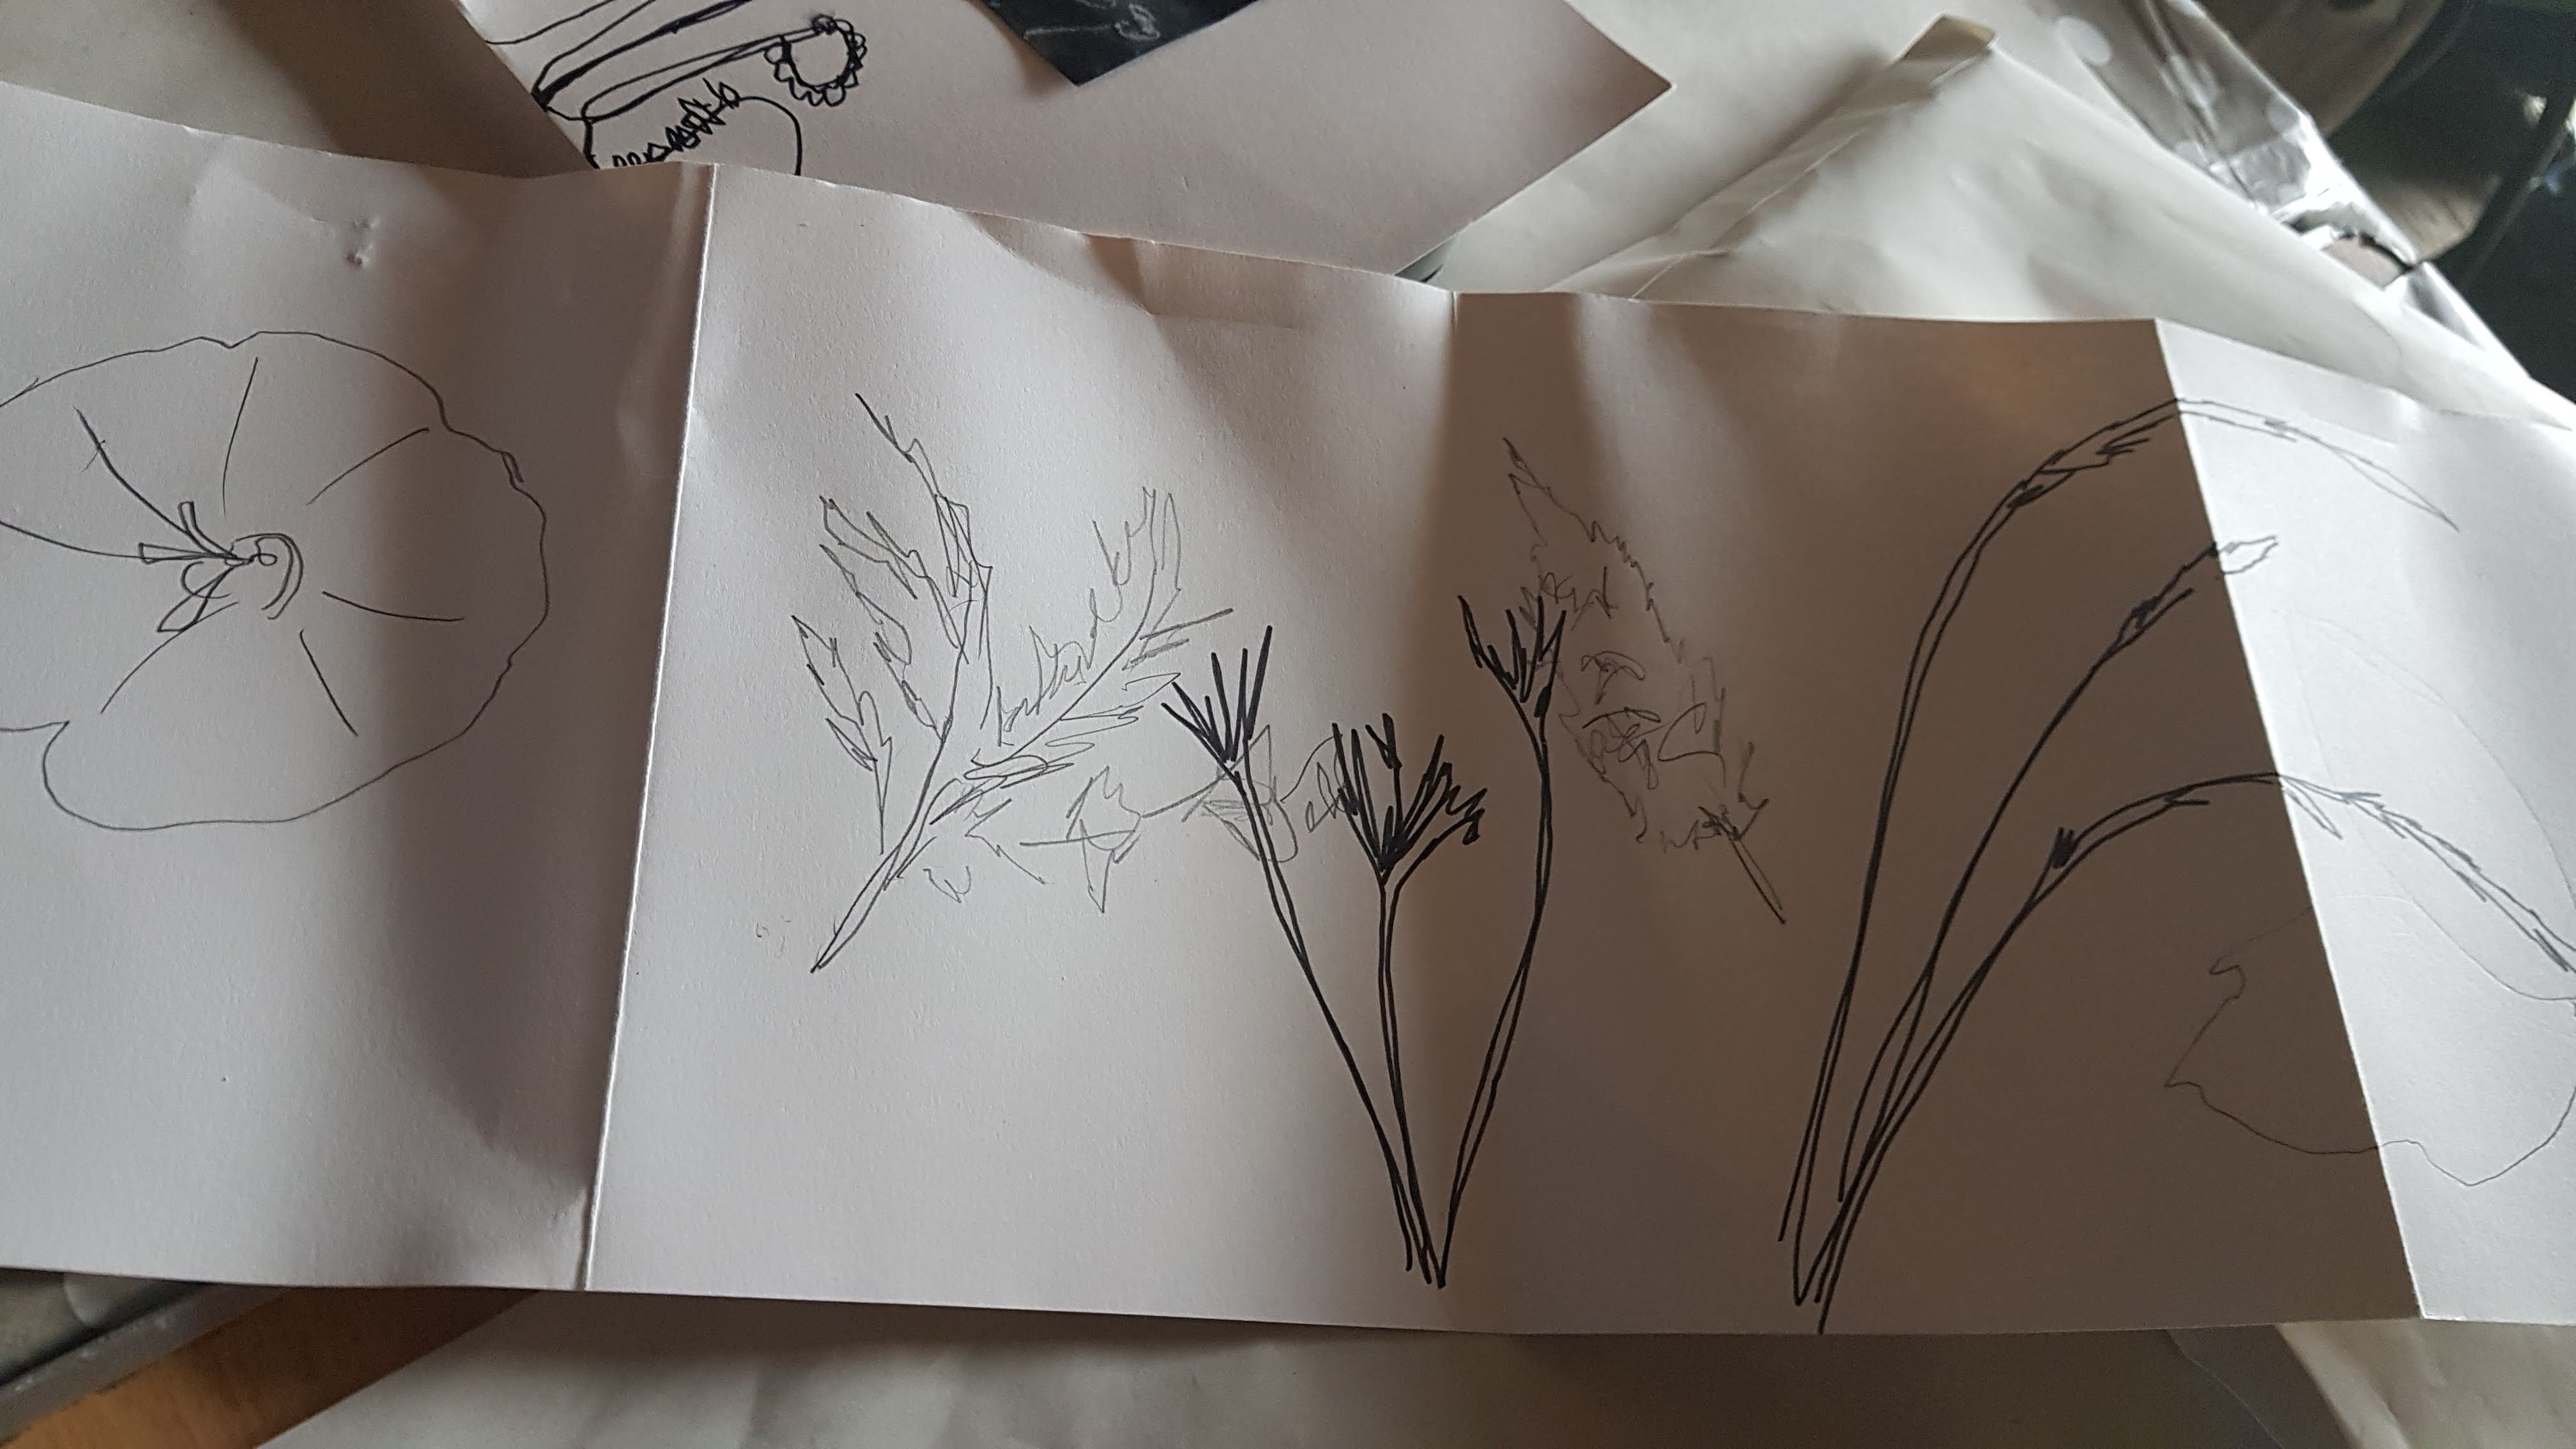
7. My drawings from nature 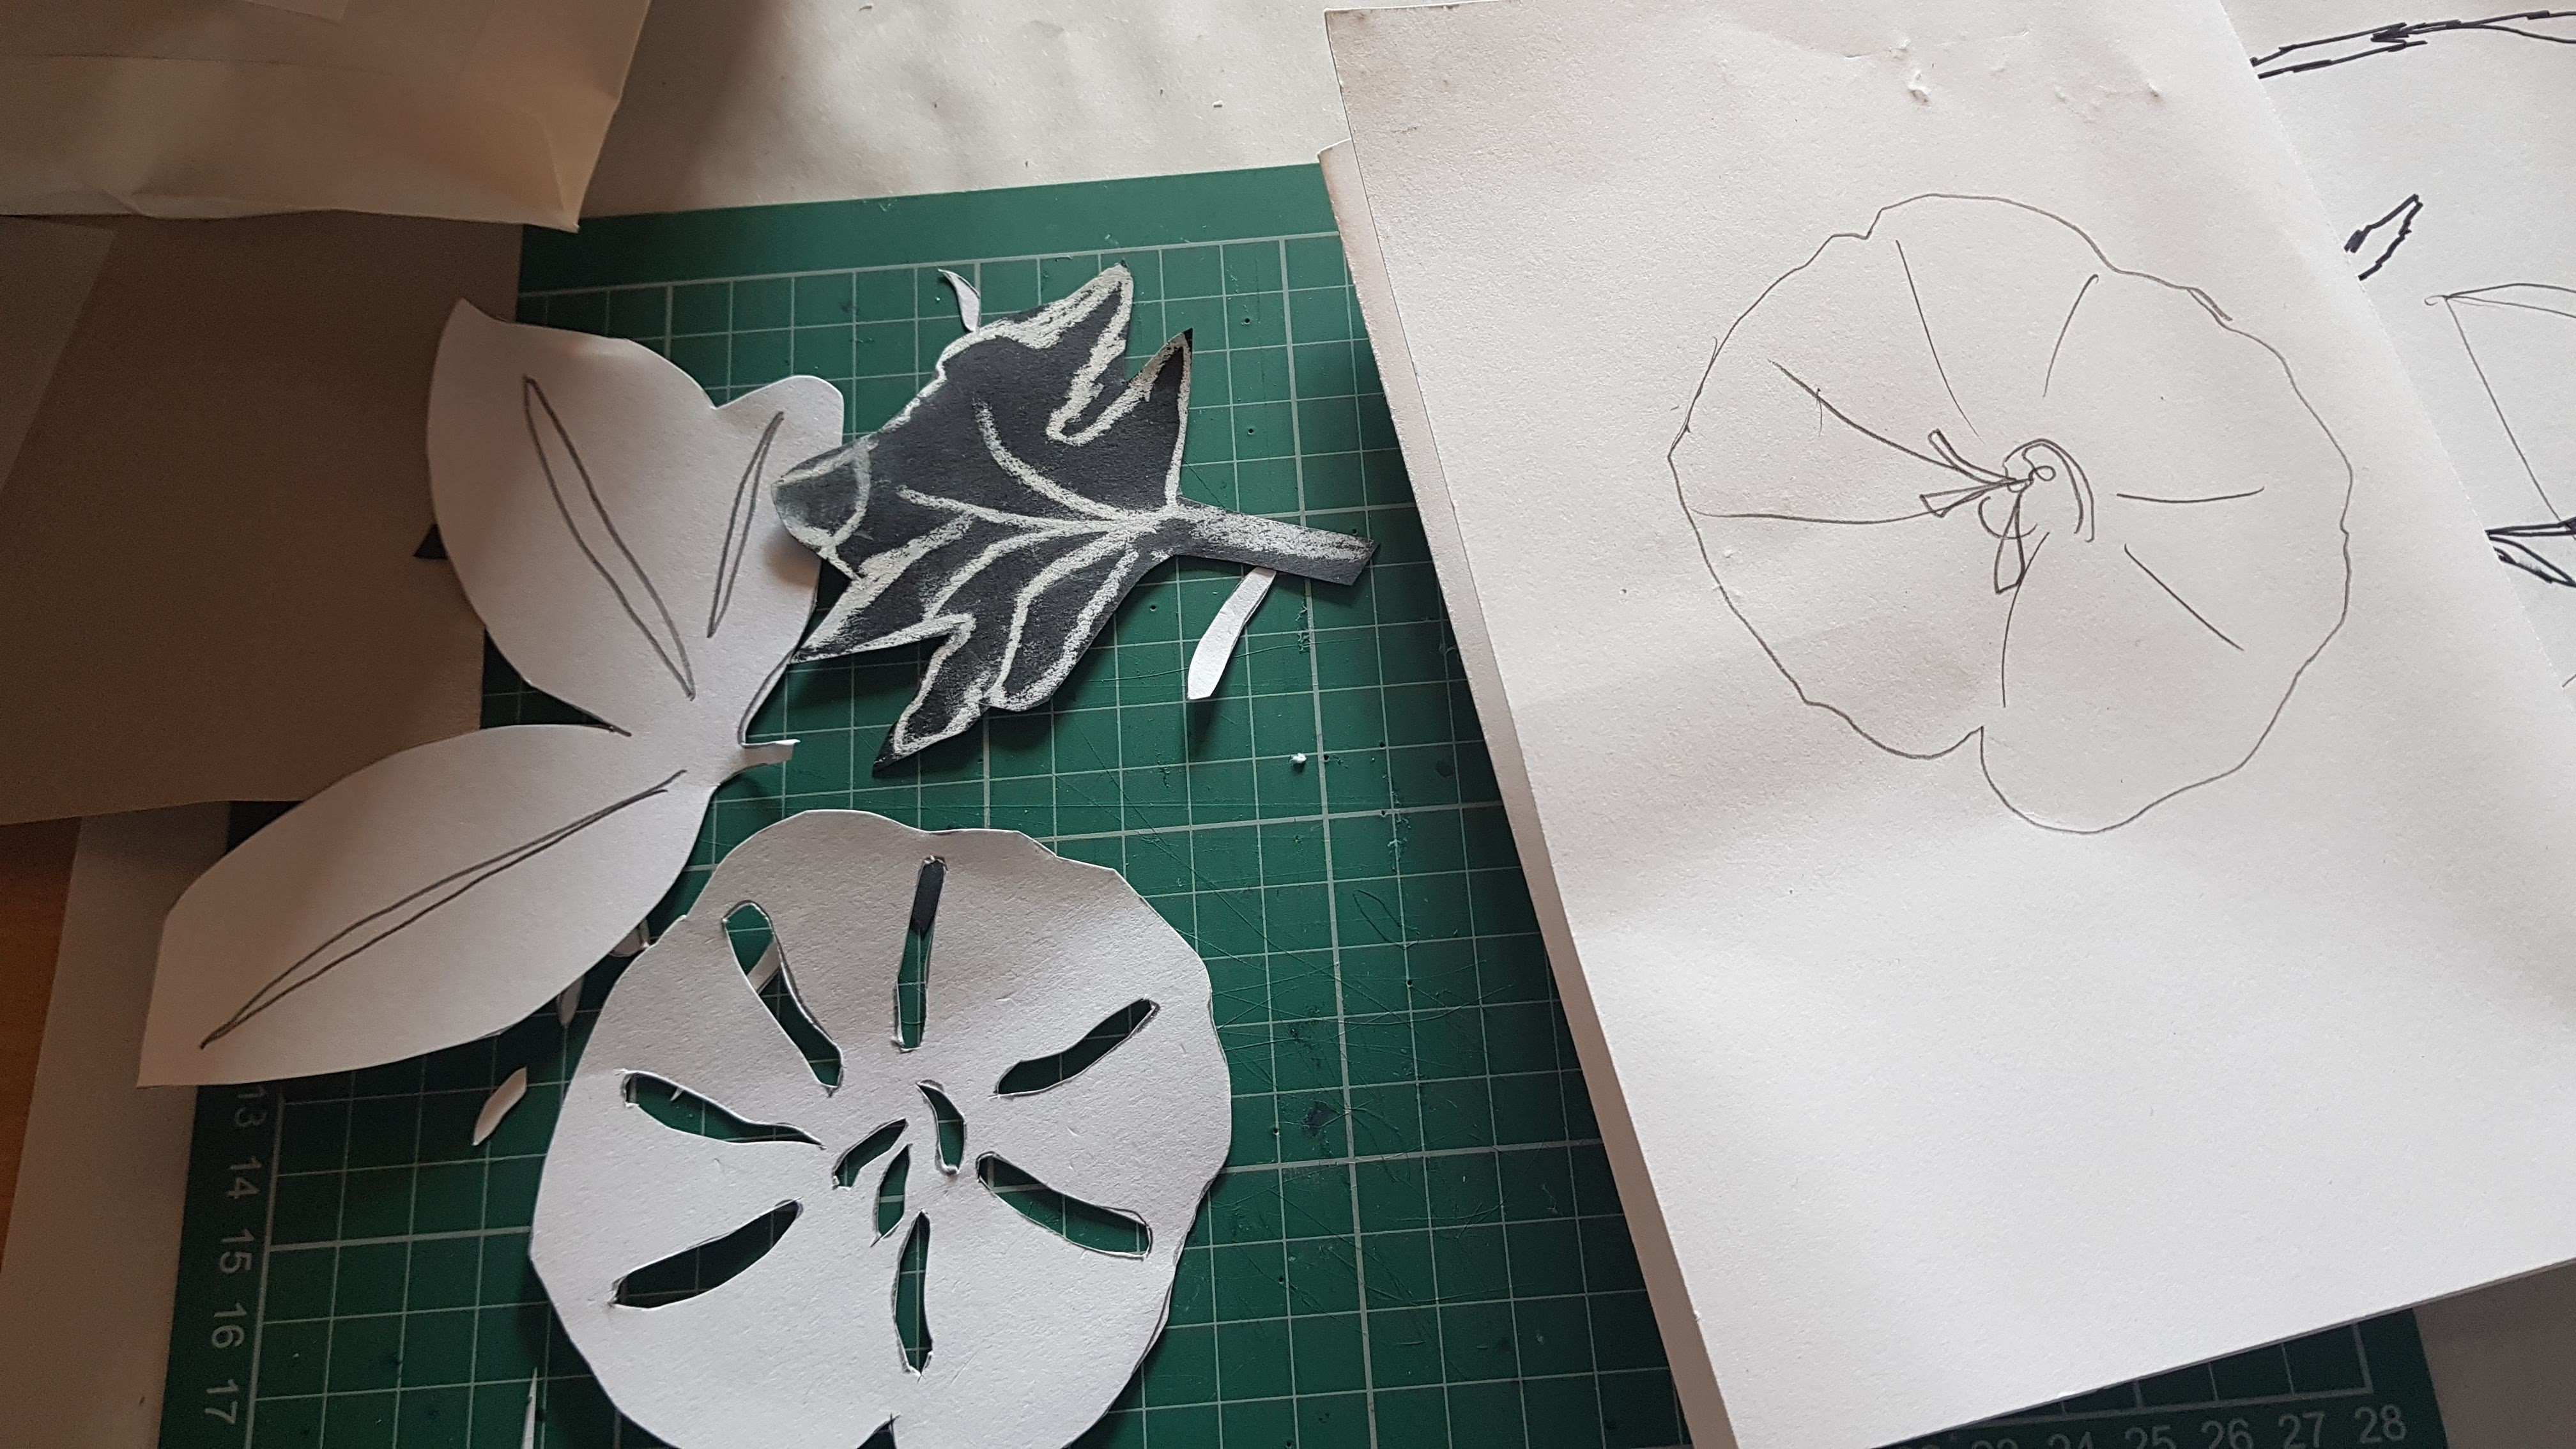
8. Basic shapes cut out 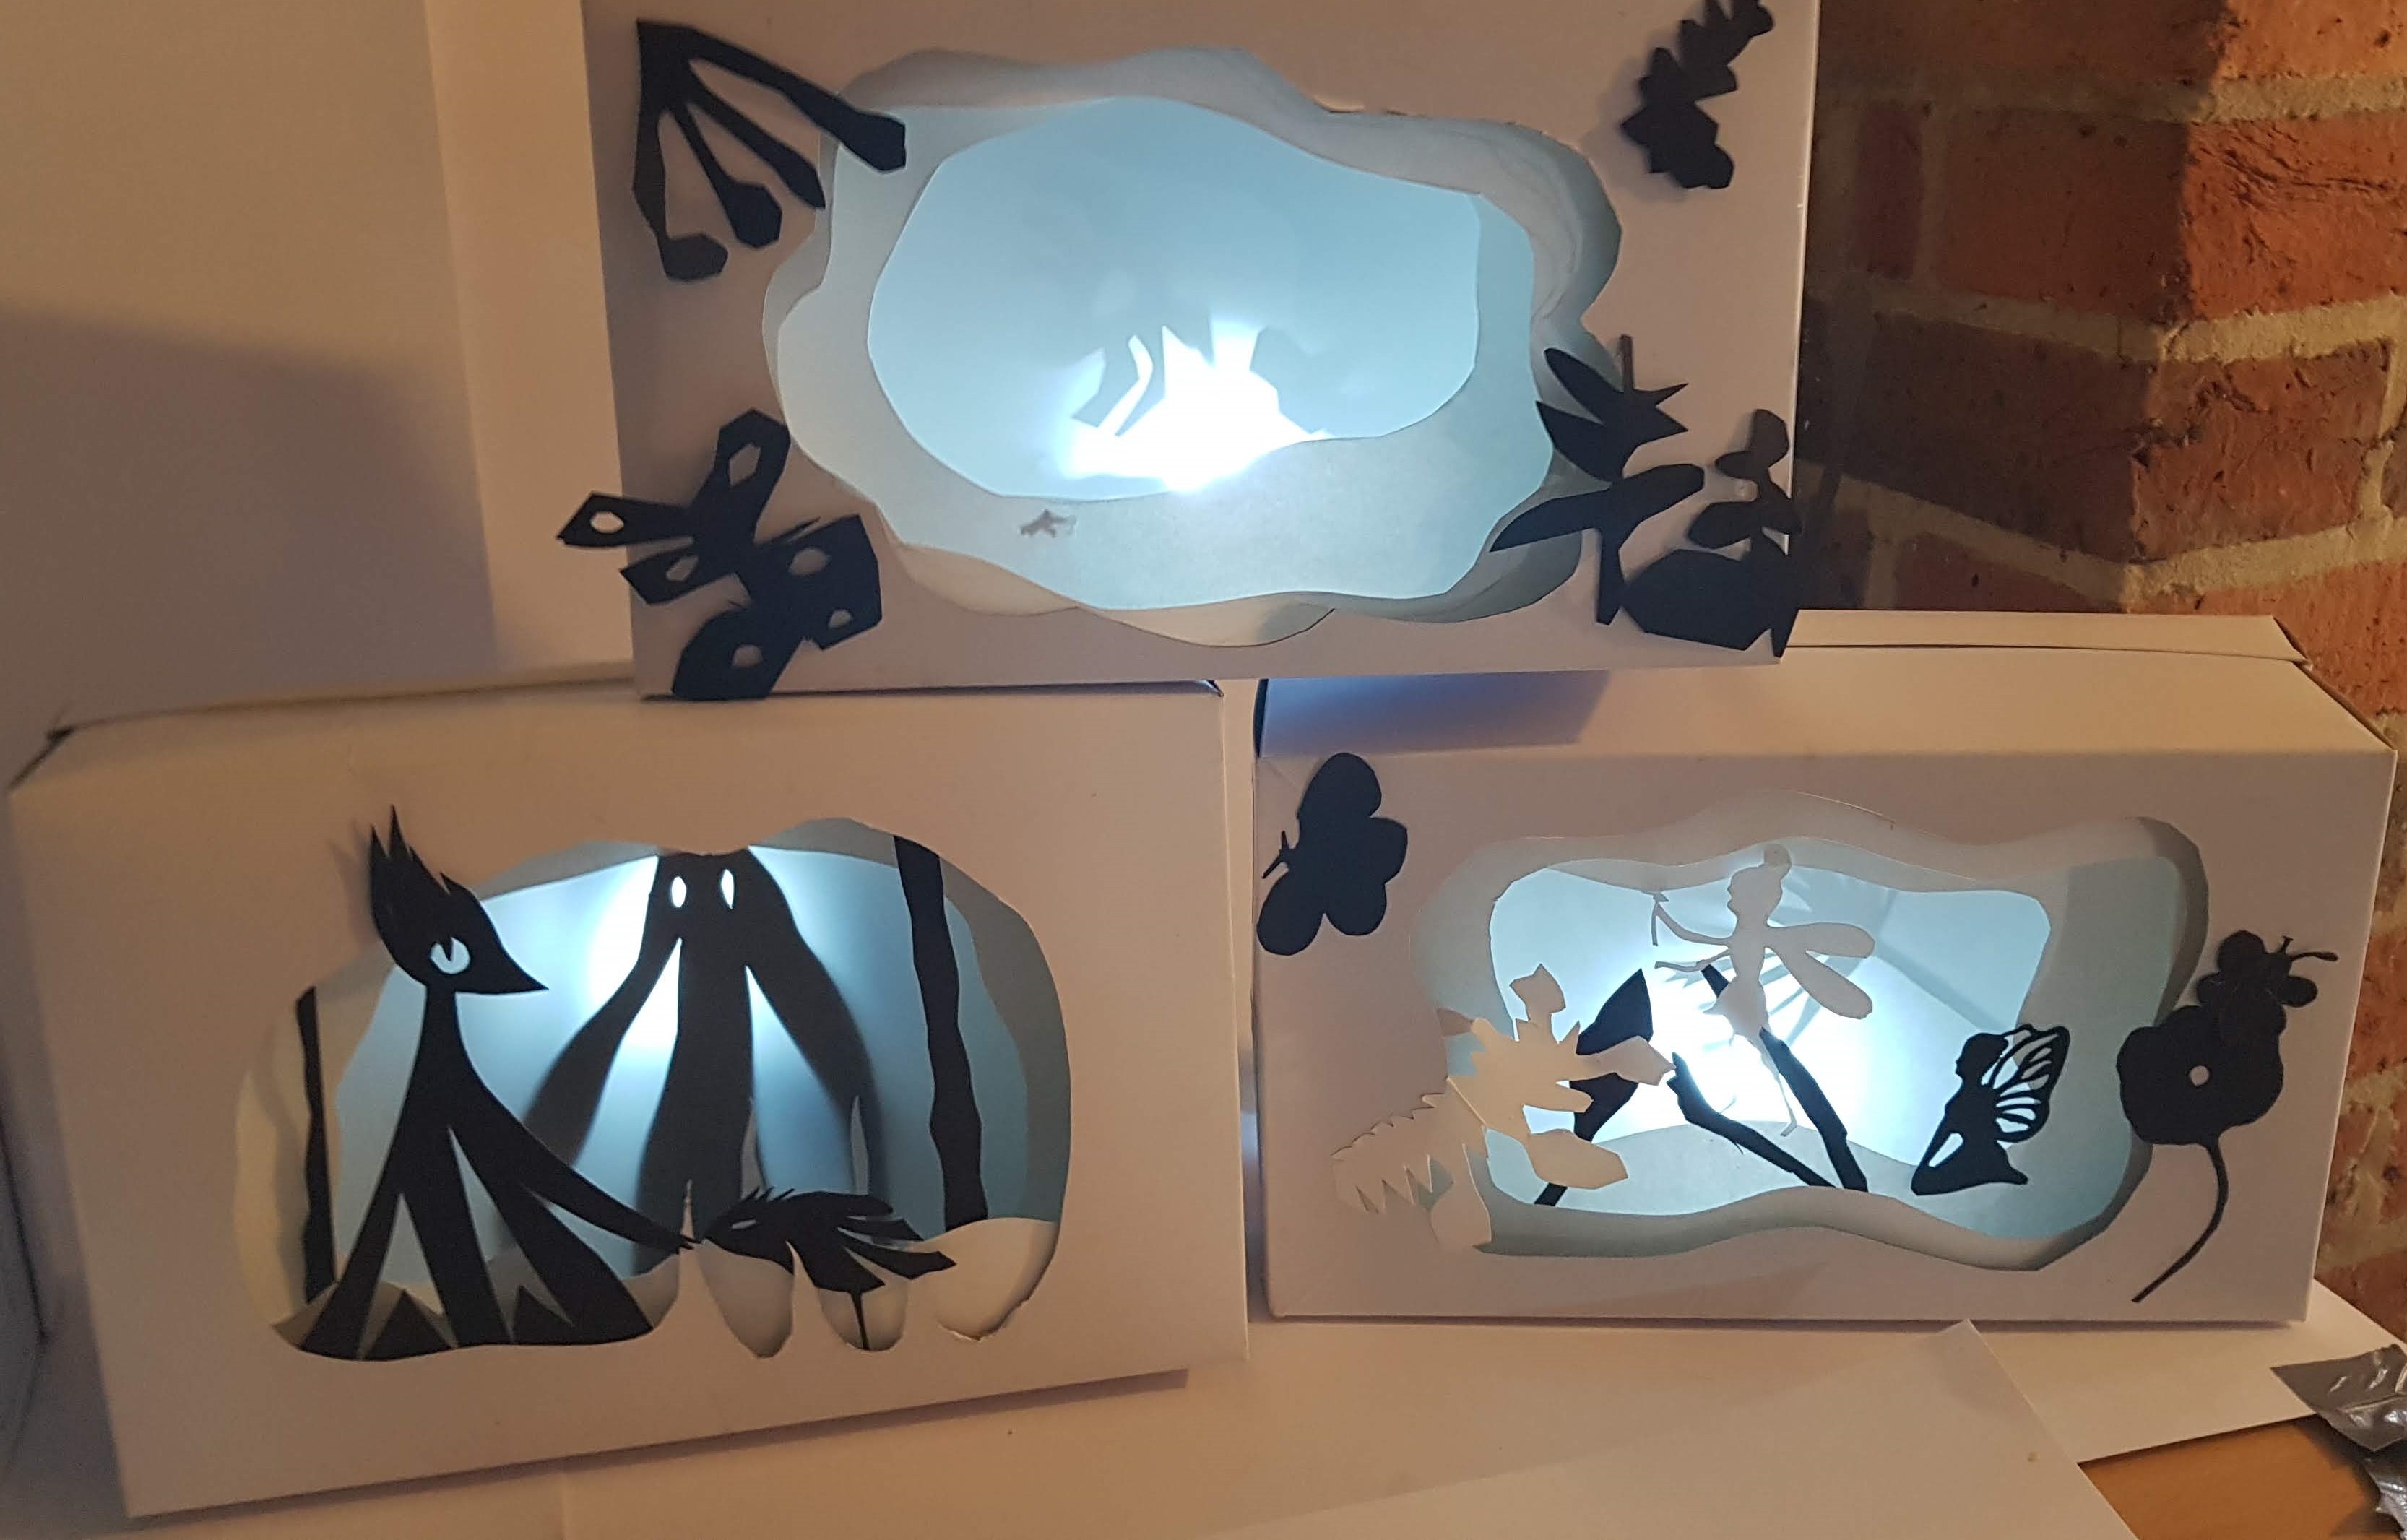
9. Light box ideas 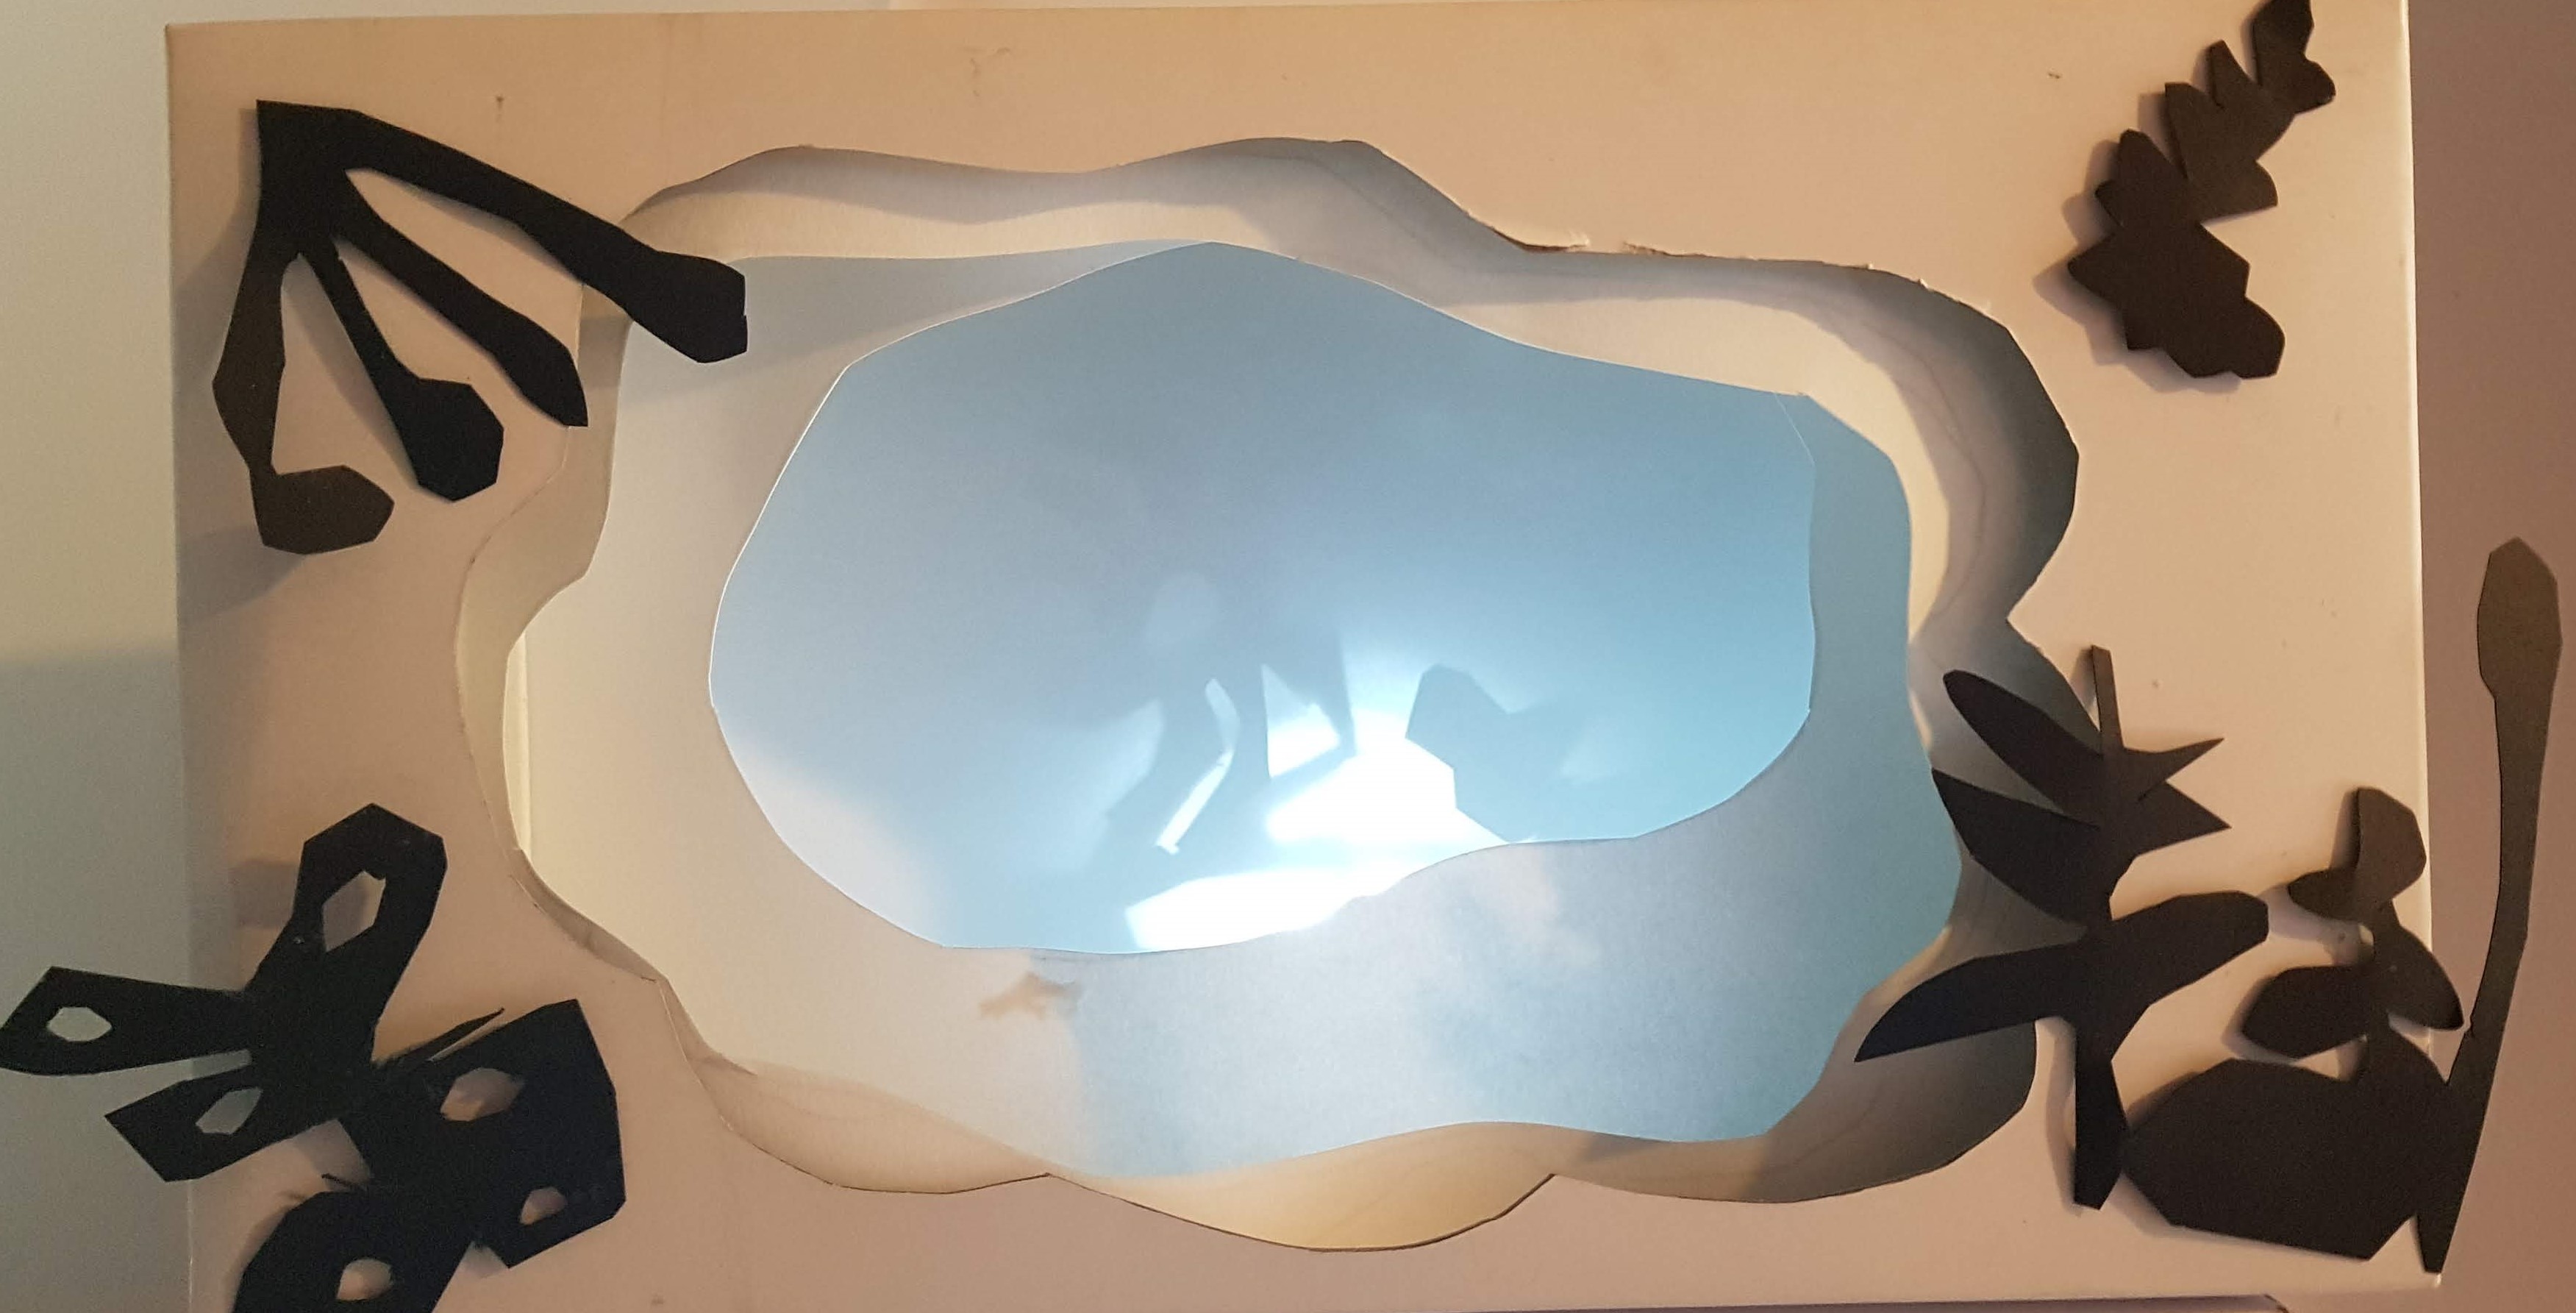
10. My son’s light box (he’s 7)
- First, fold your long pieces of card into zig-zags, make crisp, concertina folds by running a ruler along the crease (Fig. 2).
- Place each folded piece of card at each side of the box. Draw a line along the side of the card as your first window must be inside these lines (Fig 3).
- Draw a wobbly line in a rough, oblong shape but make sure you don’t go too close to the edge (Fig.4).
- Cut out the shape neatly, using a craft knife/ scalpel.
- Put your box on top of your first piece of white paper. Draw around the wobbly line you have cut out lightly in pencil. Draw a wobbly line inside the shape you have drawn about 1 cm away from your first line. It will look like wobbly train tracks.
- Cut out this smaller wobbly shape neatly with a craft knife. Rub out the bigger pencil line.
- Place this piece of paper with an island cut out of the middle on the next piece of paper. Repeat steps 5 and 6 so you have two pieces of paper with islands cut out.
- Right, it’s assembly time; glue the paper with the largest whole to the concertina fold nearest to the bottom of the box. Glue the next piece to the next concertina fold so there is a gap in between. Glue the last piece of white paper to the last fold. Turn the box around, it should like Fig. 5.
- Inspiration for decoration can come from anywhere: hedgerows, beetles and spiders, fairies, birds, robots. What you need to look for are things with strong, interesting outlines and shapes. Draw some simple shapes on scrap white paper; I used the sketches I had made on my walk in the downs and then traced them a couple of times. Cut shapes carefully with scissors or a scalpel; take your time with this bit as it will make the difference between it looking super amazing as Ella my daughter would say, or a bit make shift. Look at fig. 9 and 10 for ideas.
- Glue your cut shapes in between the layers and/ or the outside of the box.
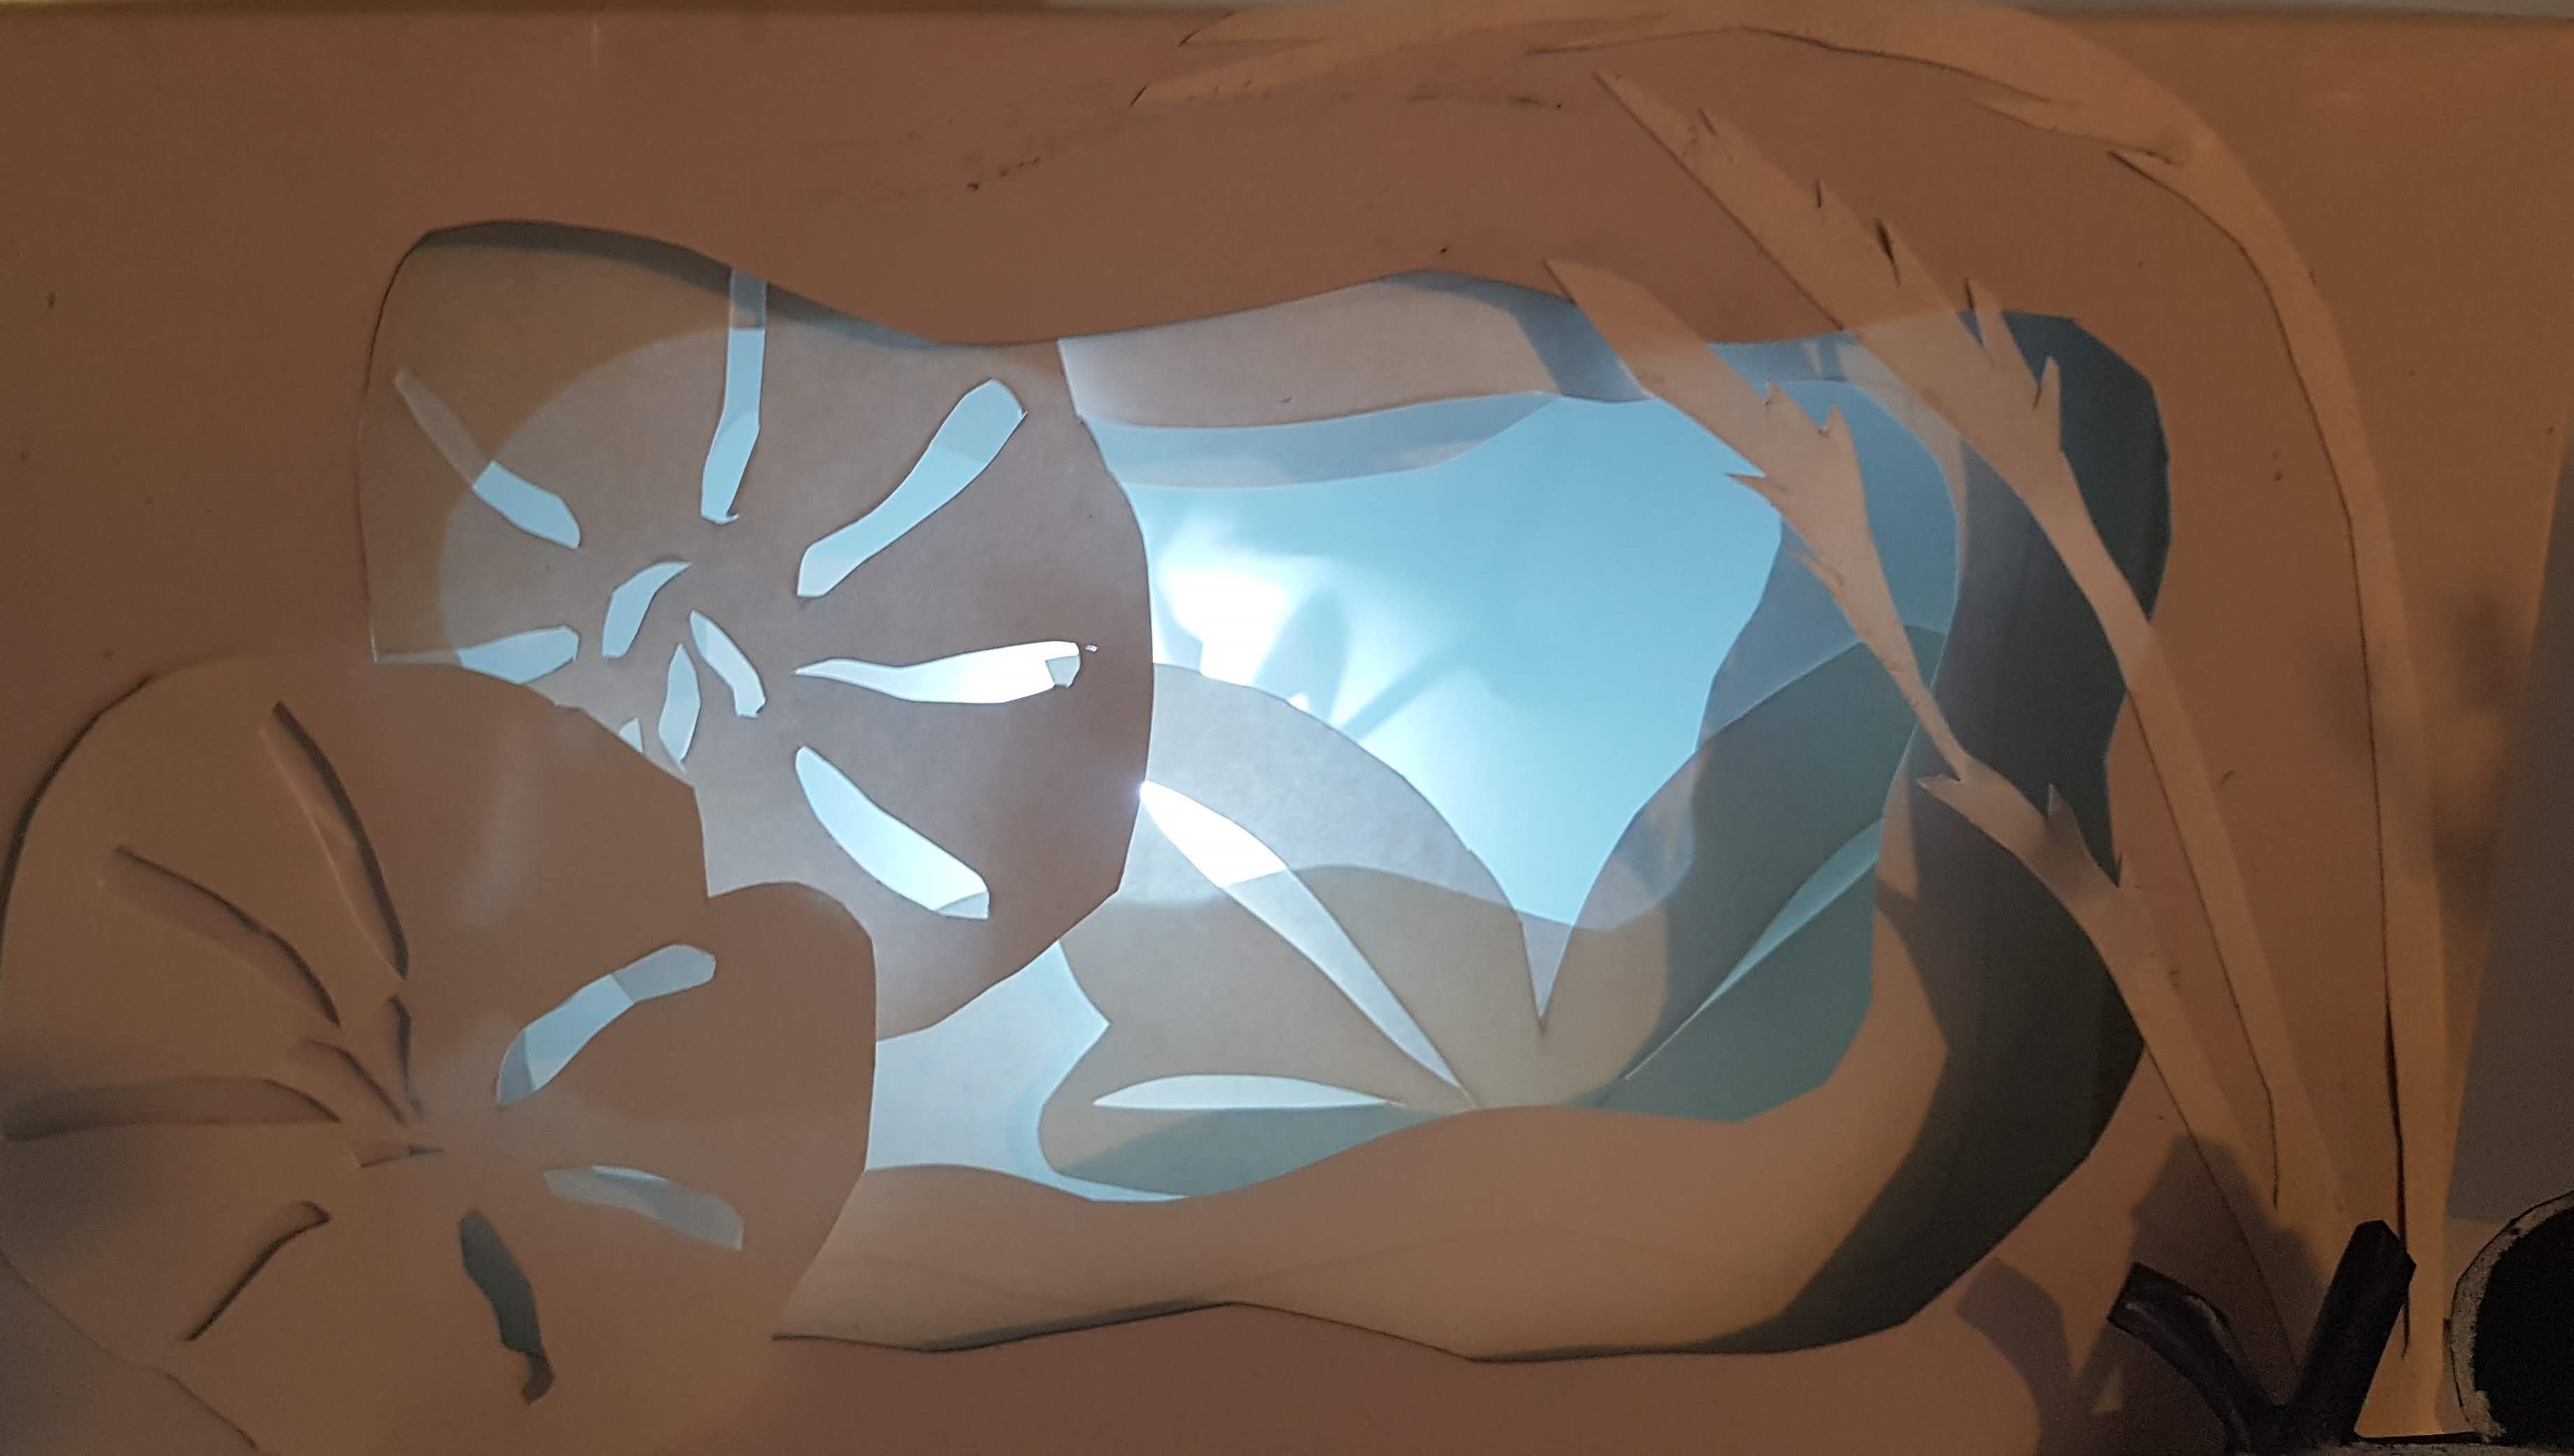
- Stick any LED light to the inside of the shoe box lid; a stick on cupboard LED light is great as you can stick it to the back of your lid and turn on and off, (Fig.1).
- Turn of the LED light, put the lid on the box and turn out your “big” light; create a little magic.

Very imaginative project with easily accessible resources.
Congratulations on an exciting new venture.
xxm
LikeLiked by 1 person